MPD/DASH → HLS 转换服务 · 一键安装 · 自动管理

bash <(curl -fsSL https://raw.githubusercontent.com/judy-gotv/MPD-HLS/main/install.sh)
或下载后执行:
curl -fsSL https://raw.githubusercontent.com/judy-gotv/MPD-HLS/main/install.sh -o install.sh
bash install.sh
非交互一键模式:
# 直接安装 + 启动(自动识别架构)
curl -fsSL https://raw.githubusercontent.com/judy-gotv/MPD-HLS/main/install.sh | bash -s install

# 直接卸载
curl -fsSL https://raw.githubusercontent.com/judy-gotv/MPD-HLS/main/install.sh | bash -s uninstall
| 项目 | 值 |
|---|---|
| 面板端口 | 9527 |
| 管理路径 | /admin |
| 默认账号 | admin |
| 默认密码 | 首次启动随机生成,自动打印到日志 |
| 安装目录 | /opt/mpd2hls |
| 配置文件 | /opt/mpd2hls/mpd2hls.env |
| 服务文件 | /etc/systemd/system/mpd2hls-panel.service |
出于安全考虑,默认密码不再使用固定值,而是首次启动时由程序随机生成并打印到系统日志,登录后请立即在面板中修改。
安装脚本会在安装完成时自动打印密码。如果你错过了,可以随时用以下命令查看:
# 方法一:使用脚本快捷命令
bash install.sh password

# 方法二:直接查 journal
journalctl -u mpd2hls-panel | grep -i "temporary password"
# 交互菜单(推荐)
bash install.sh

# 启动 / 停止 / 重启
bash install.sh start
bash install.sh stop
bash install.sh restart

# 查看运行状态
bash install.sh status

# 实时日志
bash install.sh logs

# 查看首次随机密码
bash install.sh password

# 升级到最新版
bash install.sh update

# 卸载
bash install.sh uninstall
也可以直接用 systemctl 管理:
systemctl start   mpd2hls-panel
systemctl stop    mpd2hls-panel
systemctl restart mpd2hls-panel
systemctl status  mpd2hls-panel
systemctl enable  mpd2hls-panel   # 开机自启
systemctl disable mpd2hls-panel
journalctl -u mpd2hls-panel -f    # 实时日志
通过环境变量在安装前自定义:
# 自定义端口
PANEL_PORT=18080 bash install.sh install

# 安装指定版本
GH_RELEASE_TAG=0.2.33 bash install.sh install

# 自定义安装目录
INSTALL_DIR=/data/mpd2hls bash install.sh install

# 自定义管理路径
PANEL_ADMIN_PATH=/manager bash install.sh install
| 环境变量 | 默认值 | 说明 |
|---|---|---|
INSTALL_DIR |
/opt/mpd2hls |
安装目录 |
PANEL_PORT |
9527 |
面板监听端口 |
PANEL_ADMIN_PATH |
/admin |
管理面板路径 |
GH_REPO |
judy-gotv/MPD-HLS |
GitHub 仓库 |
GH_RELEASE_TAG |
latest |
版本号 |
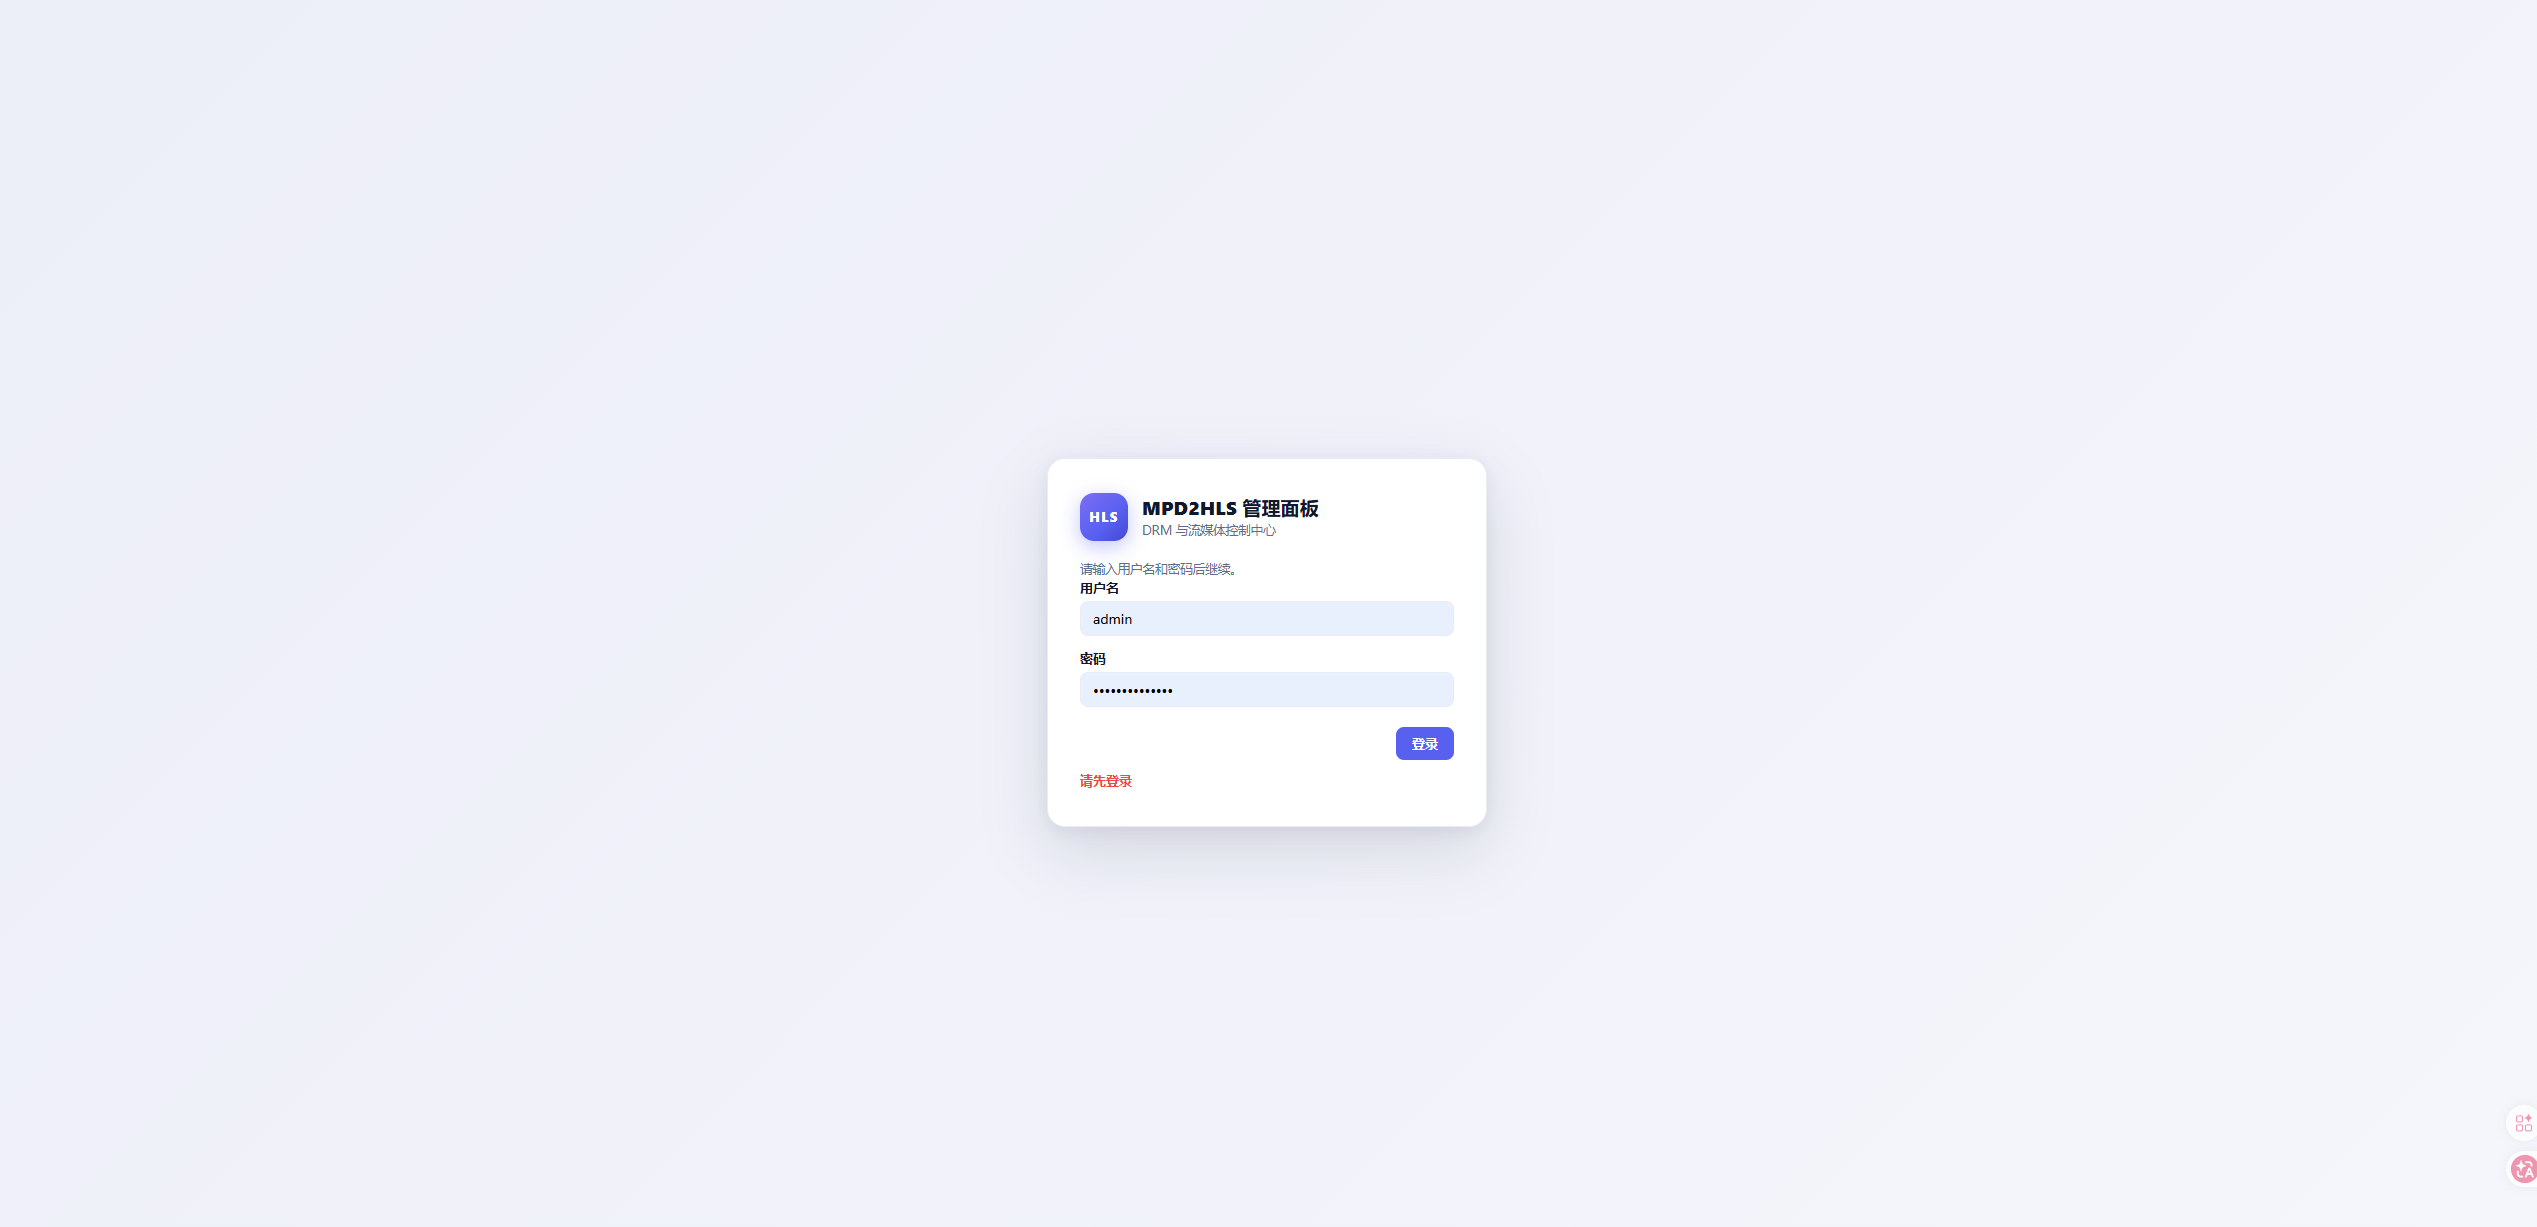
安装完成后通过浏览器访问:
http://服务器IP:端口/admin
例如使用默认端口 9527:
http://1.2.3.4:9527/admin
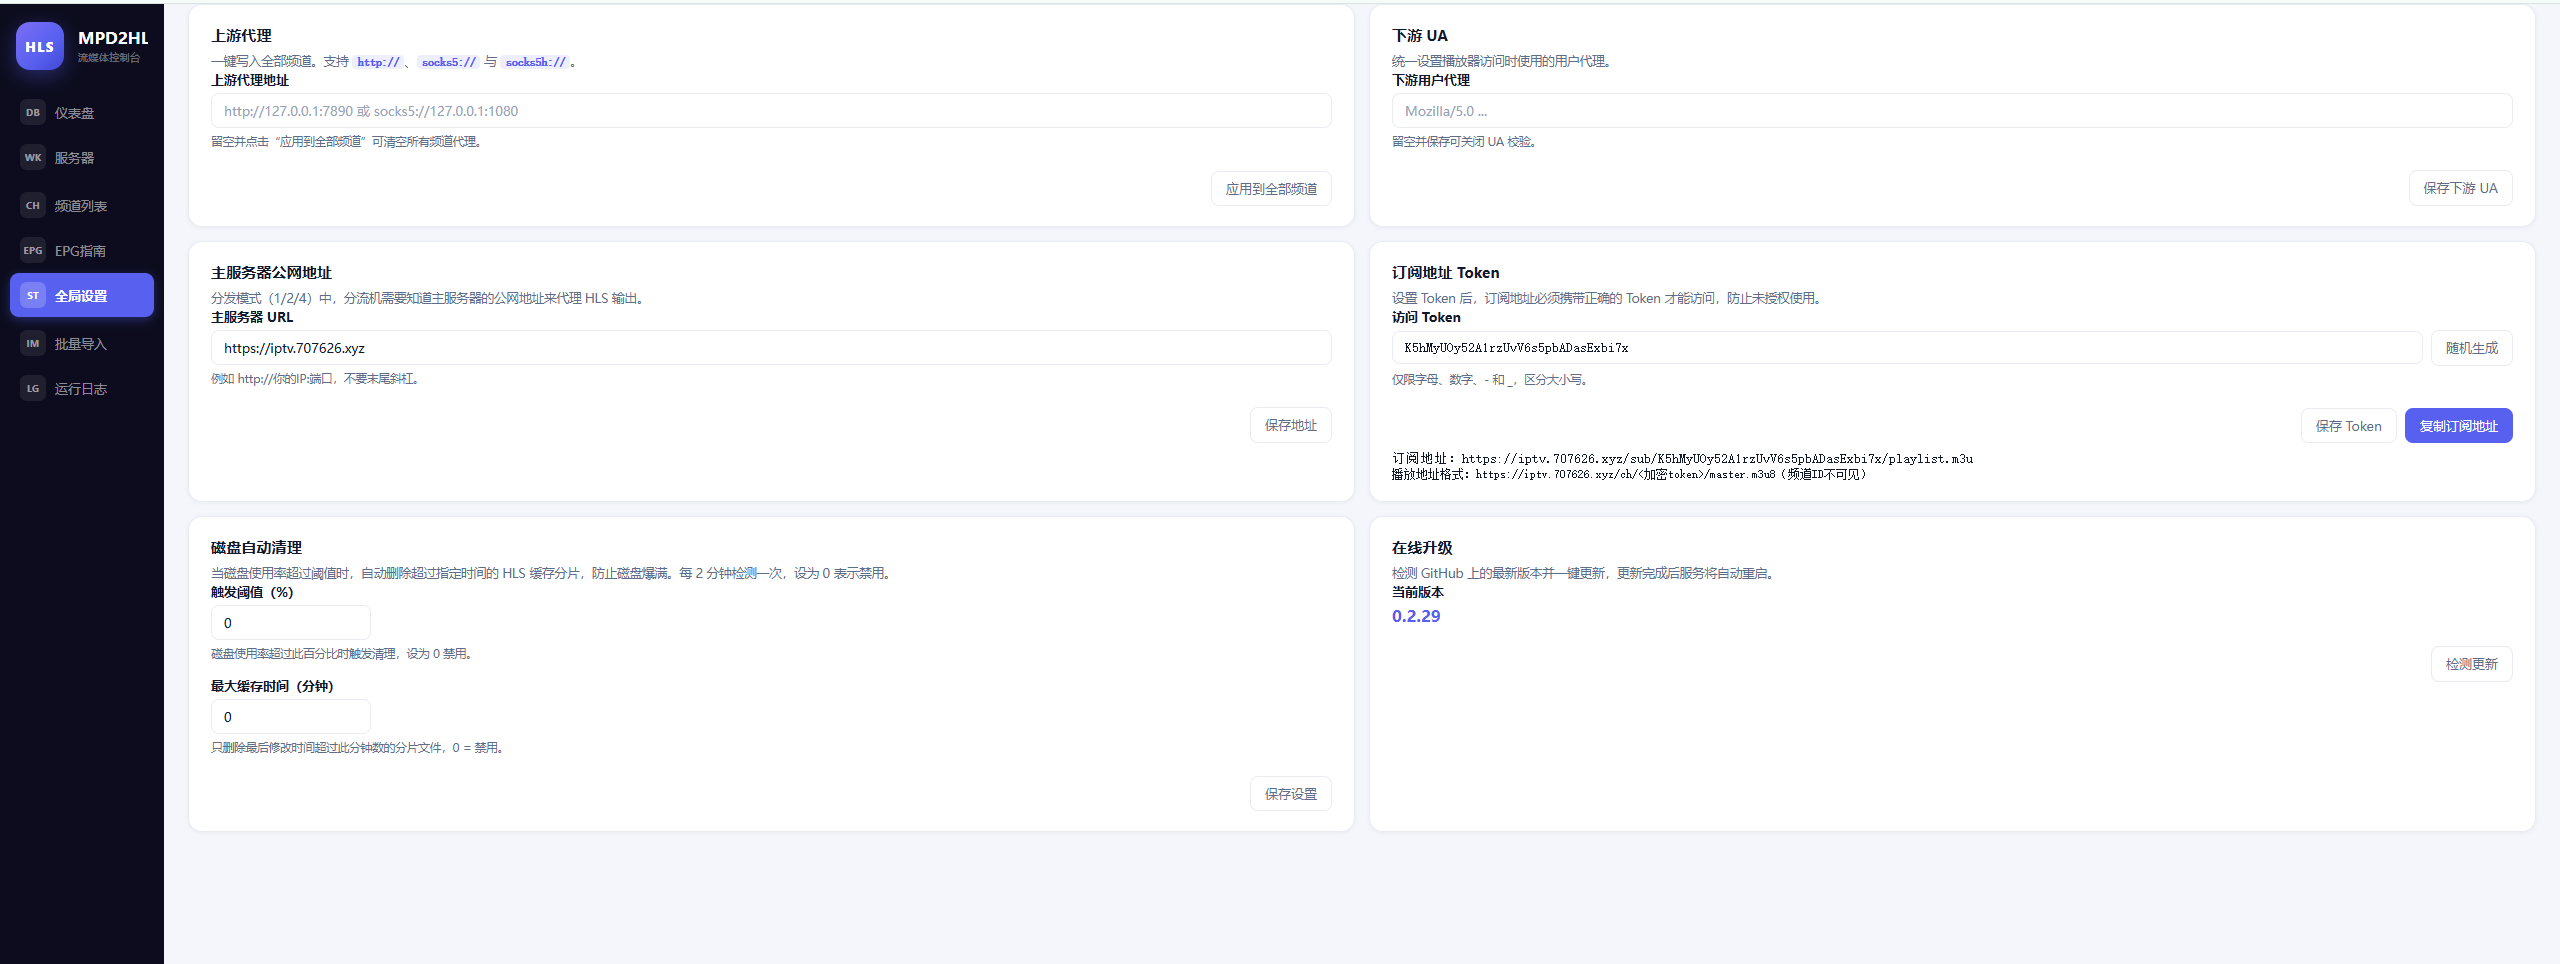
⚠️ 默认配置 (
PANEL_ADDR=127.0.0.1:9527) 只监听本机,需要通过反向代理(推荐 nginx + HTTPS)或修改mpd2hls.env中的PANEL_ADDR来开放外部访问。
下面是生产环境推荐的 nginx 配置:双层架构 + 分片伪装为 .jpeg,可以有效绕过 CDN/防火墙对 .ts 后缀的特殊处理与缓存策略,同时启用了 CORS 跨域支持和 Range 请求。
| 层 | 作用 |
|---|---|
第一层 127.0.0.1:9528
|
内部解压层。强制后端返回未压缩内容,方便第二层做 sub_filter 文本替换 |
第二层 :80 / :443
|
对外服务。把 m3u8 里的 .ts 替换为 .jpeg,请求 .jpeg 时内部回写为 .ts,对客户端透明 |
把以下内容保存为 /etc/nginx/conf.d/mpd2hls.conf(或 /etc/nginx/sites-available/mpd2hls):
# ============================================================
# 第一层:内部解压服务,监听 9528
# ============================================================
server {
    listen 127.0.0.1:9528;

    proxy_pass_header Server;

    location / {
        proxy_pass http://127.0.0.1:9527;
        proxy_set_header Accept-Encoding "";
        gunzip on;
        gzip off;
    }
}

# ============================================================
# 第二层:对外服务,做内容替换和伪装
# ============================================================
server {
    listen 80;
    server_name iptv.example.com;          # ← 修改为你的域名
    client_max_body_size 128m
    access_log /var/log/nginx/mpd_access.log;
    error_log  /var/log/nginx/mpd_error.log warn;

    proxy_set_header Host              $host;
    proxy_set_header X-Real-IP         $remote_addr;
    proxy_set_header X-Forwarded-For   $proxy_add_x_forwarded_for;
    proxy_set_header X-Forwarded-Proto $scheme;

    proxy_connect_timeout   60s;
    proxy_send_timeout      300s;
    proxy_read_timeout      300s;
    proxy_buffering         off;
    proxy_cache             off;

    # ─── master.m3u8:伪装成纯文本 ───
    location ~ ^/ch/([a-zA-Z0-9_-]+)/master\.m3u8$ {
        proxy_pass http://127.0.0.1:9528;
        proxy_set_header Accept-Encoding "";

        proxy_hide_header Content-Type;
        add_header Content-Type "text/plain" always;

        add_header Cache-Control "no-cache, no-store, must-revalidate" always;
        add_header Pragma "no-cache" always;
        add_header Expires "0" always;
        add_header Access-Control-Allow-Origin "*" always;
    }

    # ─── video.m3u8:把 .ts 替换为 .jpeg ───
    location ~ ^/ch/([a-zA-Z0-9_-]+)/video\.m3u8$ {
        proxy_pass http://127.0.0.1:9528;
        proxy_set_header Accept-Encoding "";

        proxy_buffering on;
        proxy_buffer_size 16k;
        proxy_buffers 4 32k;

        proxy_hide_header Content-Type;
        add_header Content-Type "text/plain" always;

        sub_filter_types *;
        sub_filter_once off;
        sub_filter '.ts' '.jpeg';

        add_header Cache-Control "no-cache, no-store, must-revalidate" always;
        add_header Pragma "no-cache" always;
        add_header Expires "0" always;
        add_header Access-Control-Allow-Origin "*" always;
    }

    # ─── audio.m3u8:把 .ts 替换为 .jpeg ───
    location ~ ^/ch/([a-zA-Z0-9_-]+)/audio\.m3u8$ {
        proxy_pass http://127.0.0.1:9528;
        proxy_set_header Accept-Encoding "";

        proxy_buffering on;
        proxy_buffer_size 16k;
        proxy_buffers 4 32k;

        proxy_hide_header Content-Type;
        add_header Content-Type "text/plain" always;

        sub_filter_types *;
        sub_filter_once off;
        sub_filter '.ts' '.jpeg';

        add_header Cache-Control "no-cache, no-store, must-revalidate" always;
        add_header Pragma "no-cache" always;
        add_header Expires "0" always;
        add_header Access-Control-Allow-Origin "*" always;
    }

    # ─── 客户端请求 /segments/*.jpeg,内部还原为 .ts ───
    location ~ ^(/ch/[a-zA-Z0-9_-]+/segments/.*?)\.jpeg$ {
        rewrite ^(/ch/[a-zA-Z0-9_-]+/segments/.*?)\.jpeg$ $1.ts break;
        proxy_pass http://127.0.0.1:9527;

        proxy_hide_header Content-Type;
        add_header Content-Type "image/jpeg" always;
        add_header Cache-Control "no-cache" always;
        add_header Access-Control-Allow-Origin "*" always;
    }

    # ─── 客户端请求 /audio/*.jpeg,内部还原为 .ts ───
    location ~ ^(/ch/[a-zA-Z0-9_-]+/audio/.*?)\.jpeg$ {
        rewrite ^(/ch/[a-zA-Z0-9_-]+/audio/.*?)\.jpeg$ $1.ts break;
        proxy_pass http://127.0.0.1:9527;

        proxy_hide_header Content-Type;
        add_header Content-Type "image/jpeg" always;
        add_header Cache-Control "no-cache" always;
        add_header Access-Control-Allow-Origin "*" always;
    }

    # ─── video TS 直接请求兜底伪装 ───
    location ~ ^/ch/([a-zA-Z0-9_-]+)/segments/.*\.ts$ {
        proxy_pass http://127.0.0.1:9527;

        proxy_hide_header Content-Type;
        add_header Content-Type "image/jpeg" always;
        add_header Cache-Control "no-cache" always;
        add_header Access-Control-Allow-Origin "*" always;
    }

    # ─── audio TS 直接请求兜底伪装 ───
    location ~ ^/ch/([a-zA-Z0-9_-]+)/audio/.*\.ts$ {
        proxy_pass http://127.0.0.1:9527;

        proxy_hide_header Content-Type;
        add_header Content-Type "image/jpeg" always;
        add_header Cache-Control "no-cache" always;
        add_header Access-Control-Allow-Origin "*" always;
    }

    # ─── 兜底路由:OPTIONS 预检 + 透明代理 ───
    location / {
        if ($request_method = OPTIONS) {
            add_header Access-Control-Allow-Origin "*" always;
            add_header Access-Control-Allow-Methods "GET, OPTIONS" always;
            add_header Access-Control-Allow-Headers "Range, Origin, Accept" always;
            add_header Access-Control-Max-Age 86400;
            add_header Content-Length 0;
            add_header Content-Type "text/plain";
            return 204;
        }

        proxy_pass http://127.0.0.1:9527;

        add_header Access-Control-Allow-Origin "*" always;
        add_header Access-Control-Allow-Methods "GET, OPTIONS" always;
        add_header Access-Control-Allow-Headers "Range, Origin, Accept" always;
    }
}
# 1. 测试配置语法
nginx -t

# 2. 重载 nginx
nginx -s reload
# 或
systemctl reload nginx
面板支持上传 PGS 字幕字体(ttf/otf/ttc),单个最大 96 MB。
Nginx 默认 client_max_body_size 只有 1 MB,字体动辄几 MB ~ 几十 MB,不改会直接 413。
在对外 server 块(listen 443 ssl 或 listen 80 那个)顶部加:
server {
    listen 443 ssl;
    server_name iptv.example.com;

    client_max_body_size 128m;       # ← 必须加
    client_body_timeout  120s;

    # ...其余配置
}
修改后 nginx -t && nginx -s reload 生效。
走 Cloudflare 的话,免费版上传上限 100 MB;如果字体接近这个值,请暂时把橙云改成灰云直连。
使用 acme.sh 或 certbot 自动签发 Let's Encrypt 免费证书:
# certbot 一键申请并自动改写 nginx 配置(推荐)
apt install -y certbot python3-certbot-nginx
certbot --nginx -d iptv.example.com

# 或 acme.sh
curl https://get.acme.sh | sh
~/.acme.sh/acme.sh --issue -d iptv.example.com --nginx
上述配置依赖 nginx 的 sub_filter 模块(默认编译进官方包),无需额外安装。检查方法:
nginx -V 2>&1 | grep -o "http_sub_module"
# 输出 http_sub_module 即可
如果没有,请使用官方源安装:
# Debian/Ubuntu
apt install -y nginx

# CentOS/RHEL
yum install -y nginx
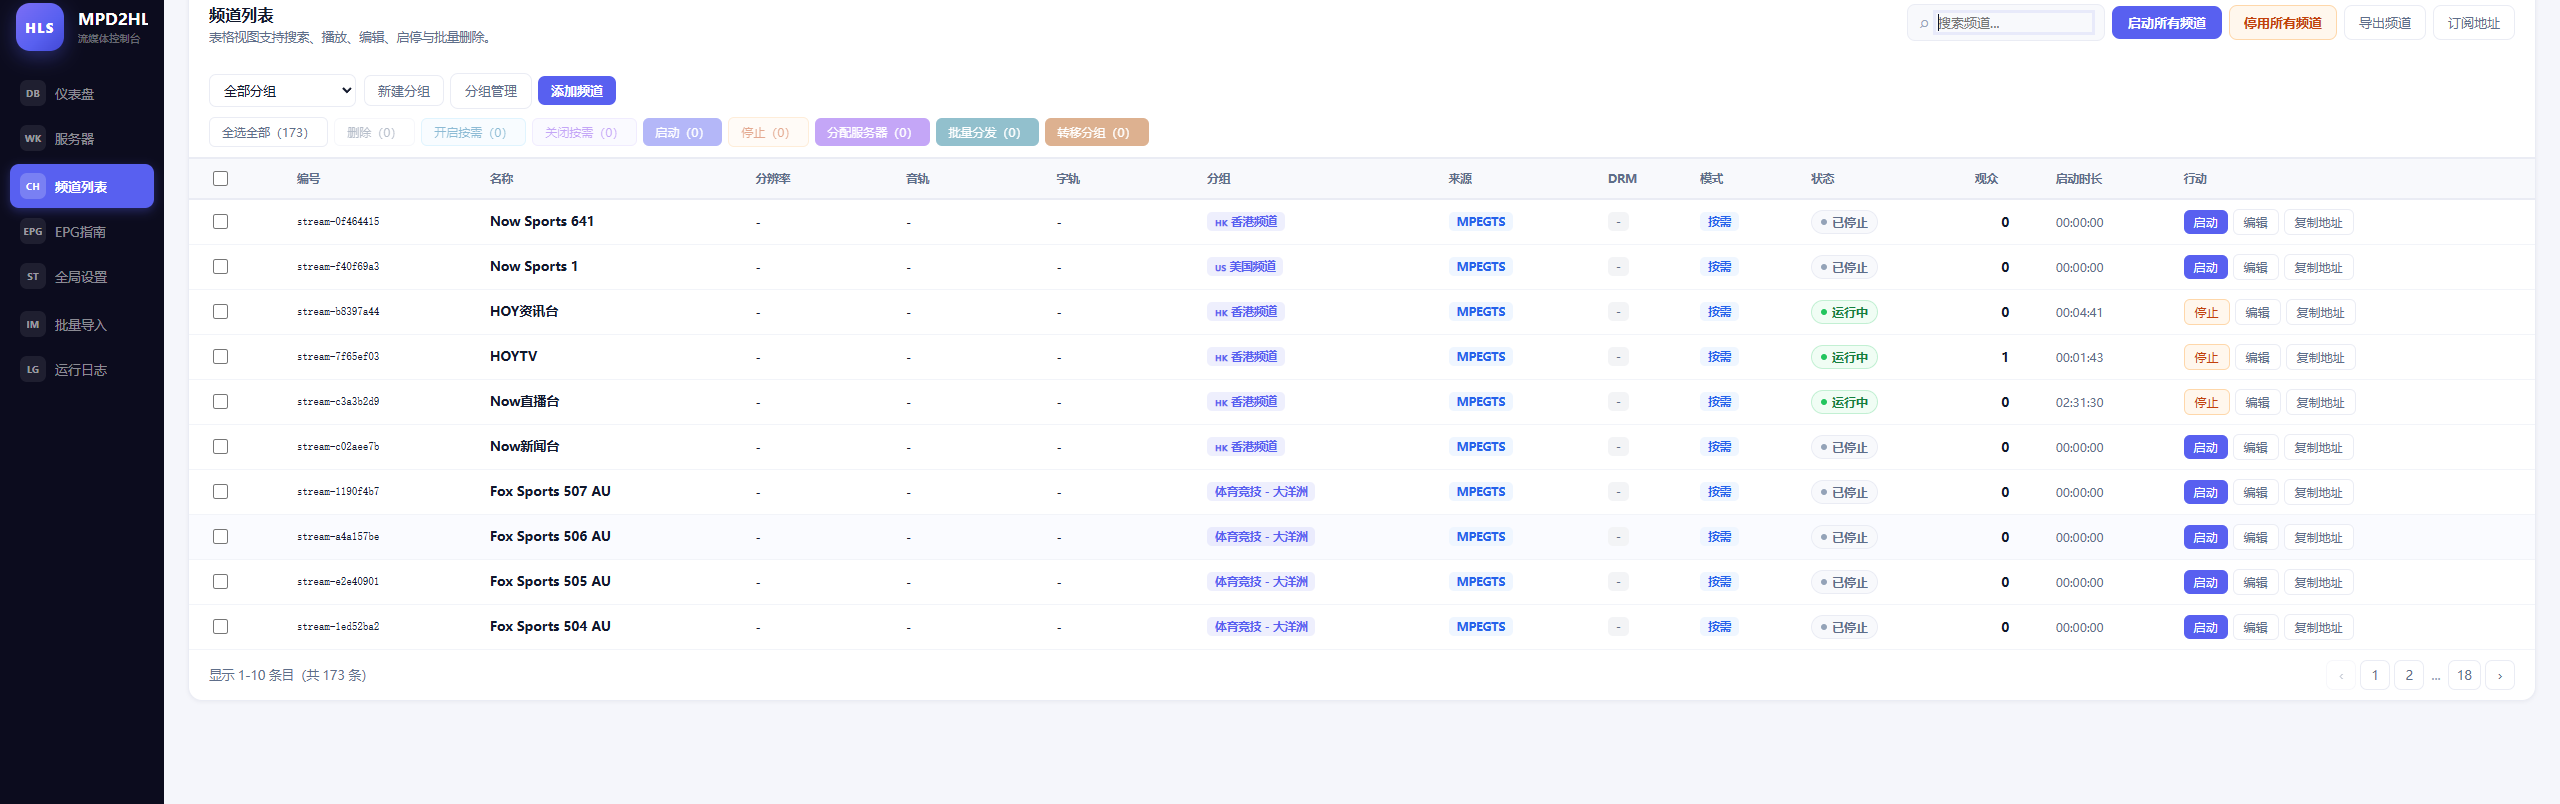
配置后用户实际访问到的订阅地址会变成:
http://iptv.example.com/ch/<频道ID>/master.m3u8
播放器拉取 m3u8 后看到的分片路径会是 .jpeg 后缀,但实际内容仍是 .ts(MPEG-TS)。这样的好处:
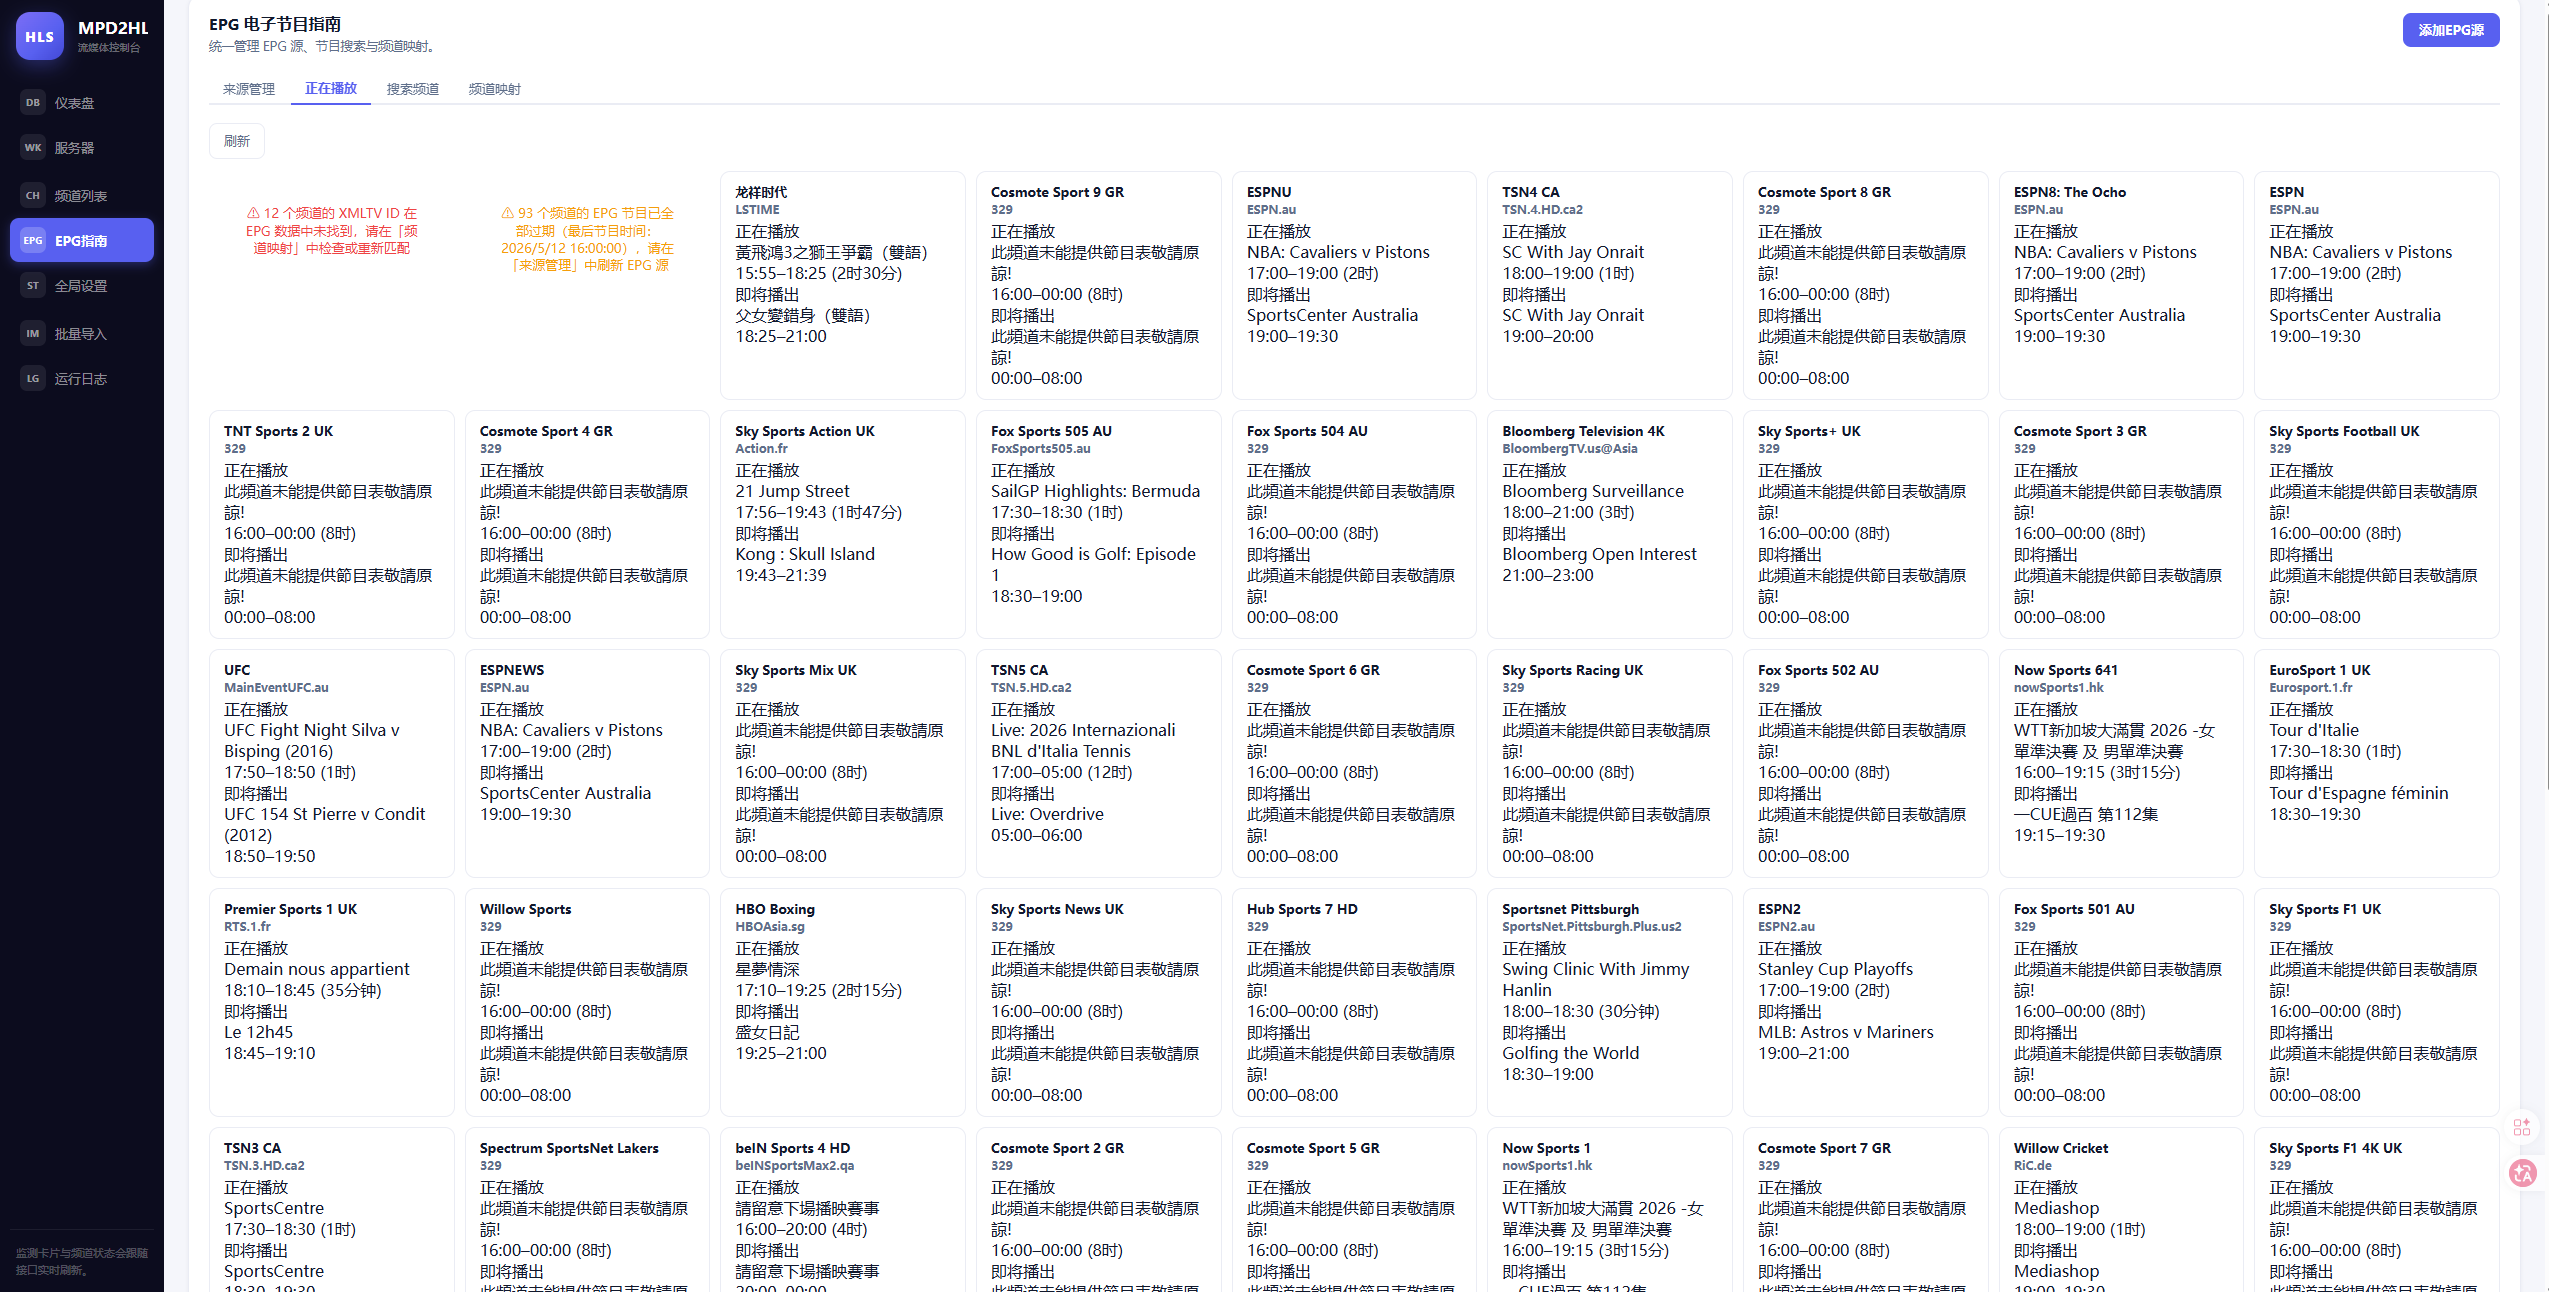
.jpeg 走静态缓存策略,对 .ts 不缓存或限流.ts 流做 QoS 限速,伪装后绕过PGS 字幕由后端把 TTML 渲染成位图后内嵌到视频流,需要一个 ttf/otf/ttc 字体。
./fonts/DFPHeiMedium-B5.ttf (相对 systemd 的 WorkingDirectory,即 /opt/mpd2hls/)
也就是说默认会去读 /opt/mpd2hls/fonts/DFPHeiMedium-B5.ttf。
方法 A:面板上传(推荐,最简单)
进入面板 → 字幕设置 → 点击「上传字体」按钮。
channels.json 的 subtitle_settings.font_path,无需重启
⚠️ 文件名请使用纯英文 / 数字 / ._-。HTTP 头不支持非 ASCII 字符,含中文文件名会被浏览器拒绝:
失败:方正黑体.ttf  →  Failed to read 'headers' property: non ISO-8859-1
正确:fzhei.ttf / SourceHanSans.otf
⚠️ 如果走 nginx 反代,必须先按上文设置 client_max_body_size 128m;,否则会 413。
方法 B:替换同名文件(不重启程序也不动配置)
把你的字体重命名为默认值并替换:
cp /path/to/myfont.ttf /opt/mpd2hls/fonts/DFPHeiMedium-B5.ttf
systemctl restart mpd2hls-panel
方法 C:面板里指定路径
进面板 → 字幕设置 → 主字体路径 输入框 → 填:
./fonts/你的字体.ttf
# 或绝对路径
/opt/mpd2hls/fonts/myfont.ttf
点保存,立即生效。
SourceHanSansSC-Regular.otf / 方正黑体 / OPPOSans⚠️ 不支持 woff / woff2 / eot 格式。
登录后点击右上角「账号设置」即可修改。
# 1. 停止服务
systemctl stop mpd2hls-panel

# 2. 删除认证文件
rm -f /opt/mpd2hls/panel_auth.json

# 3. 编辑配置文件
nano /opt/mpd2hls/mpd2hls.env
# 把 PANEL_ADMIN_PASS=你想要的密码  (留空则随机生成)

# 4. 启动服务
systemctl start mpd2hls-panel

# 5. 查看密码
bash install.sh password
| 架构 | 二进制文件 | 适用设备 |
|---|---|---|
x86_64 |
mpd2hls |
标准服务器 / VPS |
aarch64 |
mpd2hls-aarch64 |
ARM64 服务器 / 树莓派 4 / 5 |
armv7l |
mpd2hls-armv7 |
32 位 ARM 设备 / 树莓派 3 |
/opt/mpd2hls/
├── mpd2hls              # 主程序
├── mpd2hls.env          # 环境变量配置(编辑后需重启服务)
├── panel_auth.json      # 账号认证文件(密码哈希)
├── channels.json        # 频道配置 (含 subtitle_settings.font_path)
├── panel_api_token      # API 令牌
├── audit.log            # 审计日志
└── fonts/               # 字幕字体目录(默认读 DFPHeiMedium-B5.ttf)

/etc/systemd/system/
└── mpd2hls-panel.service  # 系统服务文件
面板无法访问?
# 1. 检查服务状态
systemctl status mpd2hls-panel --no-pager -l

# 2. 查看错误日志
journalctl -u mpd2hls-panel -n 100 --no-pager

# 3. 确认端口监听
ss -lntp | grep 9527

# 4. 检查防火墙
# 云服务器还需在安全组中放行对应 TCP 端口
服务无法启动?
# 重启后查看详细日志
systemctl restart mpd2hls-panel
journalctl -u mpd2hls-panel -n 50 --no-pager
忘记密码 / 找不到密码?
# 查找首次启动生成的随机密码
bash install.sh password

# 或直接从 journal 检索
journalctl -u mpd2hls-panel --since "1 hour ago" | grep -i "temporary password"
如果 panel_auth.json 已存在且你忘记了密码,请按上面【修改密码 / 重置密码】中的「方法二」操作。
端口被占用?
# 查看端口占用情况
ss -lntp | grep 9527
重新安装时通过 PANEL_PORT=新端口 bash install.sh install 指定一个未占用的端口。
systemd 的 Linux 系统上运行(Debian 8+ / Ubuntu 16.04+ / CentOS 7+ / Alpine 等)127.0.0.1,对外暴露请配置反向代理(推荐 nginx + HTTPS)/opt/mpd2hls 目录,请提前备份重要数据