以下演示均在 Synology DSM Demo 操作,Demo 演示地址 https://demo.synology.com/zh-hk/dsm
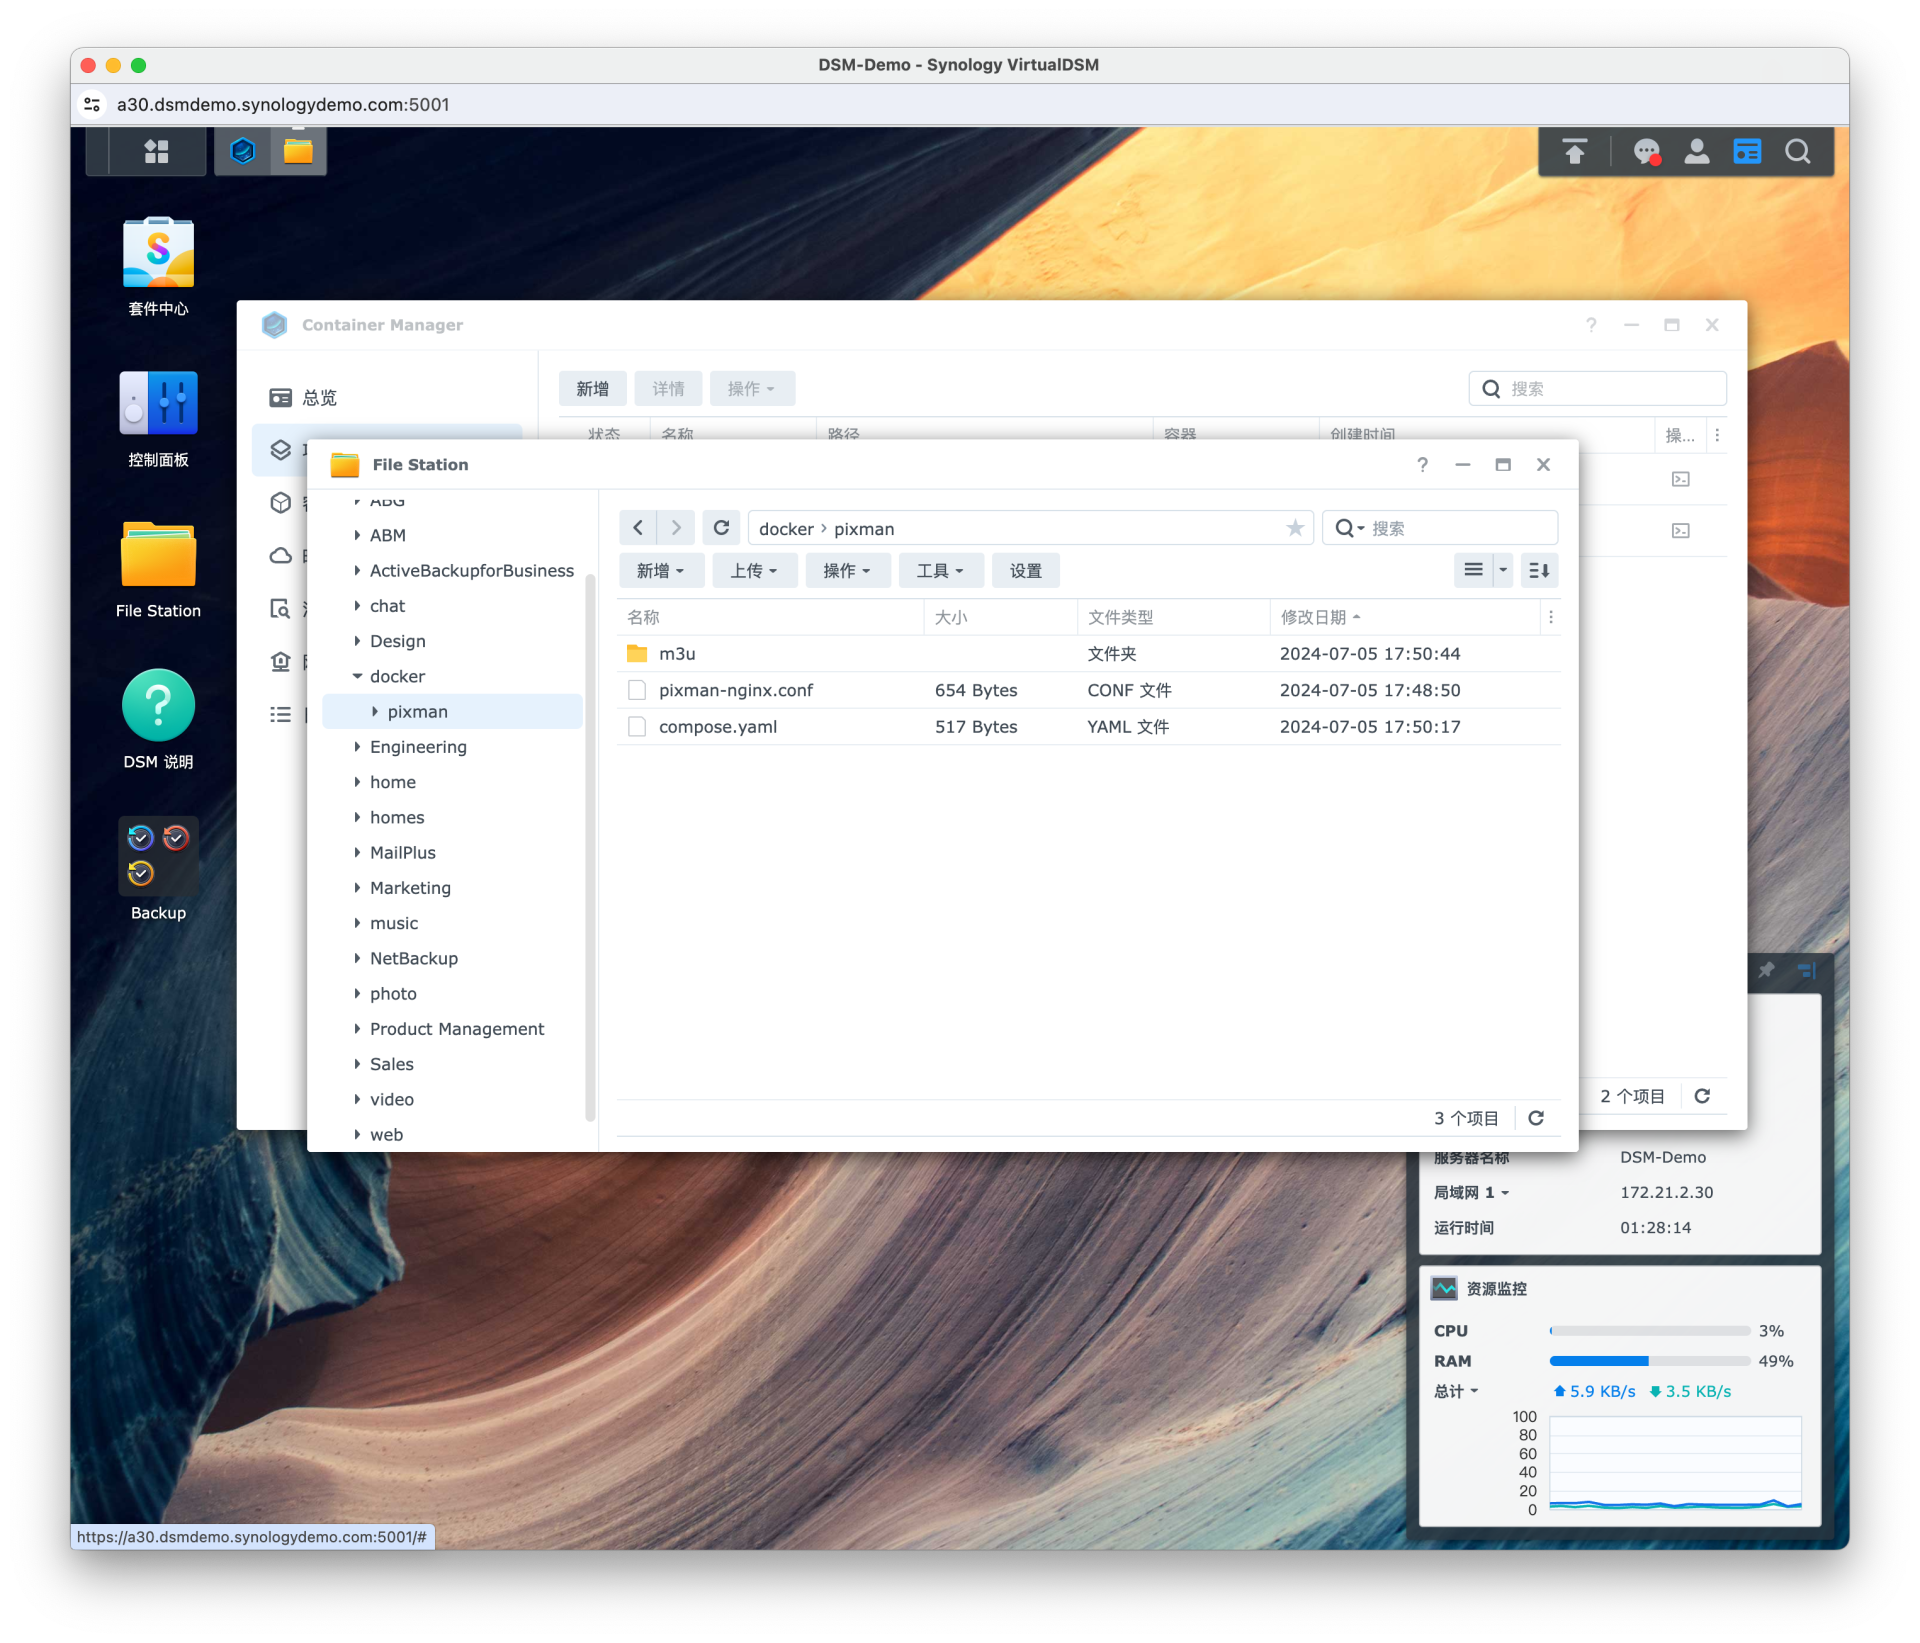
在 File Station 打开 docker 目录 (其他目录也可以),新建一个 pixman 文件夹,分别创建以下文件和文件夹
compose.yaml (environment ports 等参数根据实际情况修改)
services:
  pixman:
    image: pixman/pixman:latest
    restart: always
    container_name: pixman
    environment:
      - http_proxy=http://192.168.50.50:7890
      - https_proxy=http://192.168.50.50:7890
      - MYTVSUPER_TOKEN=YOUR_TOKEN
    ports:
      - 5050:5000
    volumes:
       - ./m3u:/app/app/data/m3u
  pixman-nginx:
    image: nginx:latest
    restart: always
    container_name: pixman-nginx
    ports:
      - 8000:8000
    volumes:
       - ./pixman-nginx.conf:/etc/nginx/conf.d/pixman-nginx.conf
pixman-nginx.conf
server {
    listen 8000 default_server;
    resolver 223.5.5.5;

    location ~ ^/tptv/(?<path>.*) {
        set $ua 'okhttp/3';
        if ($arg_ua) {
            set $ua $arg_ua;
        }
        set $target_url http://tptvo.mobaibox.com/$path$is_args$args;

        proxy_pass $target_url;
        proxy_set_header User-Agent $ua;
    }

    location ~ ^/(?<cdn>ystenlive|bestlive|wasulive|fifalive|hnbblive)(?<path>.*) {
        set $target_url http://pixman.io.$cdn.dnsany.com$path$is_args$args;

        proxy_pass $target_url;
        proxy_set_header Host cache.ott.$cdn.itv.cmvideo.cn;
    }

    location / {
        return 200 'ok';
    }
}
m3u 目录是为了统一管理其他直播源列表,将 .m3u 文件放入即可。
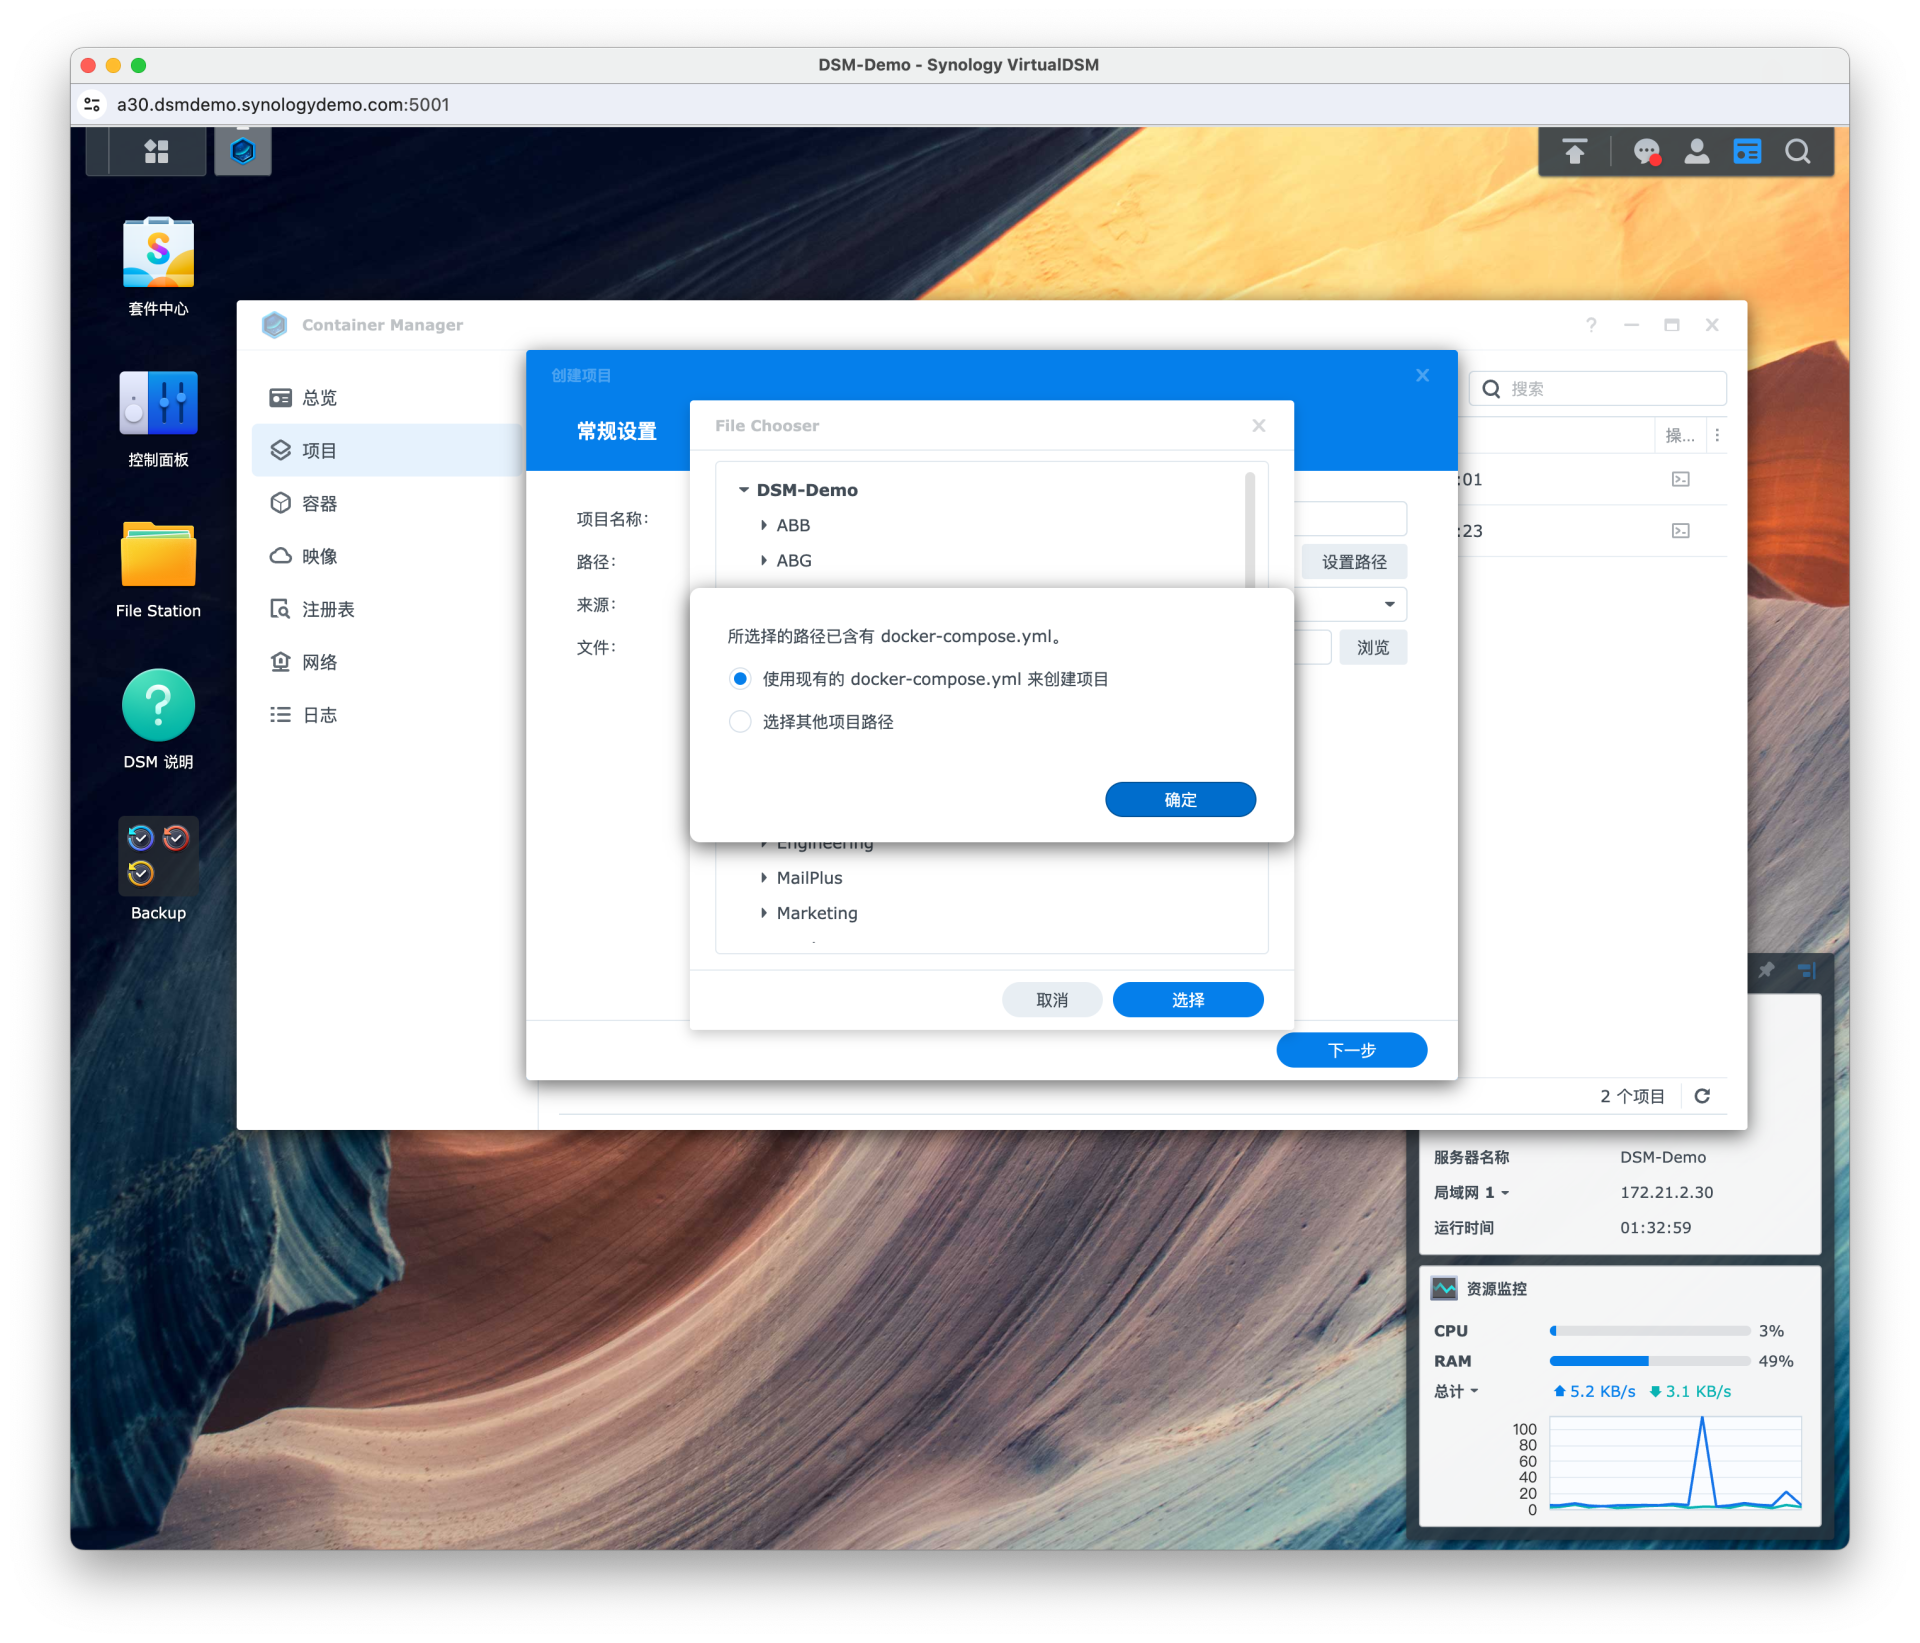
打开套件 Container Manager,新增项目,项目名称随便写,路径选择 docker/pixman,因为我们已经预先创建好了 compose.yaml 文件,所以选择 使用现有的 docker-compose.yml 来创建项目。
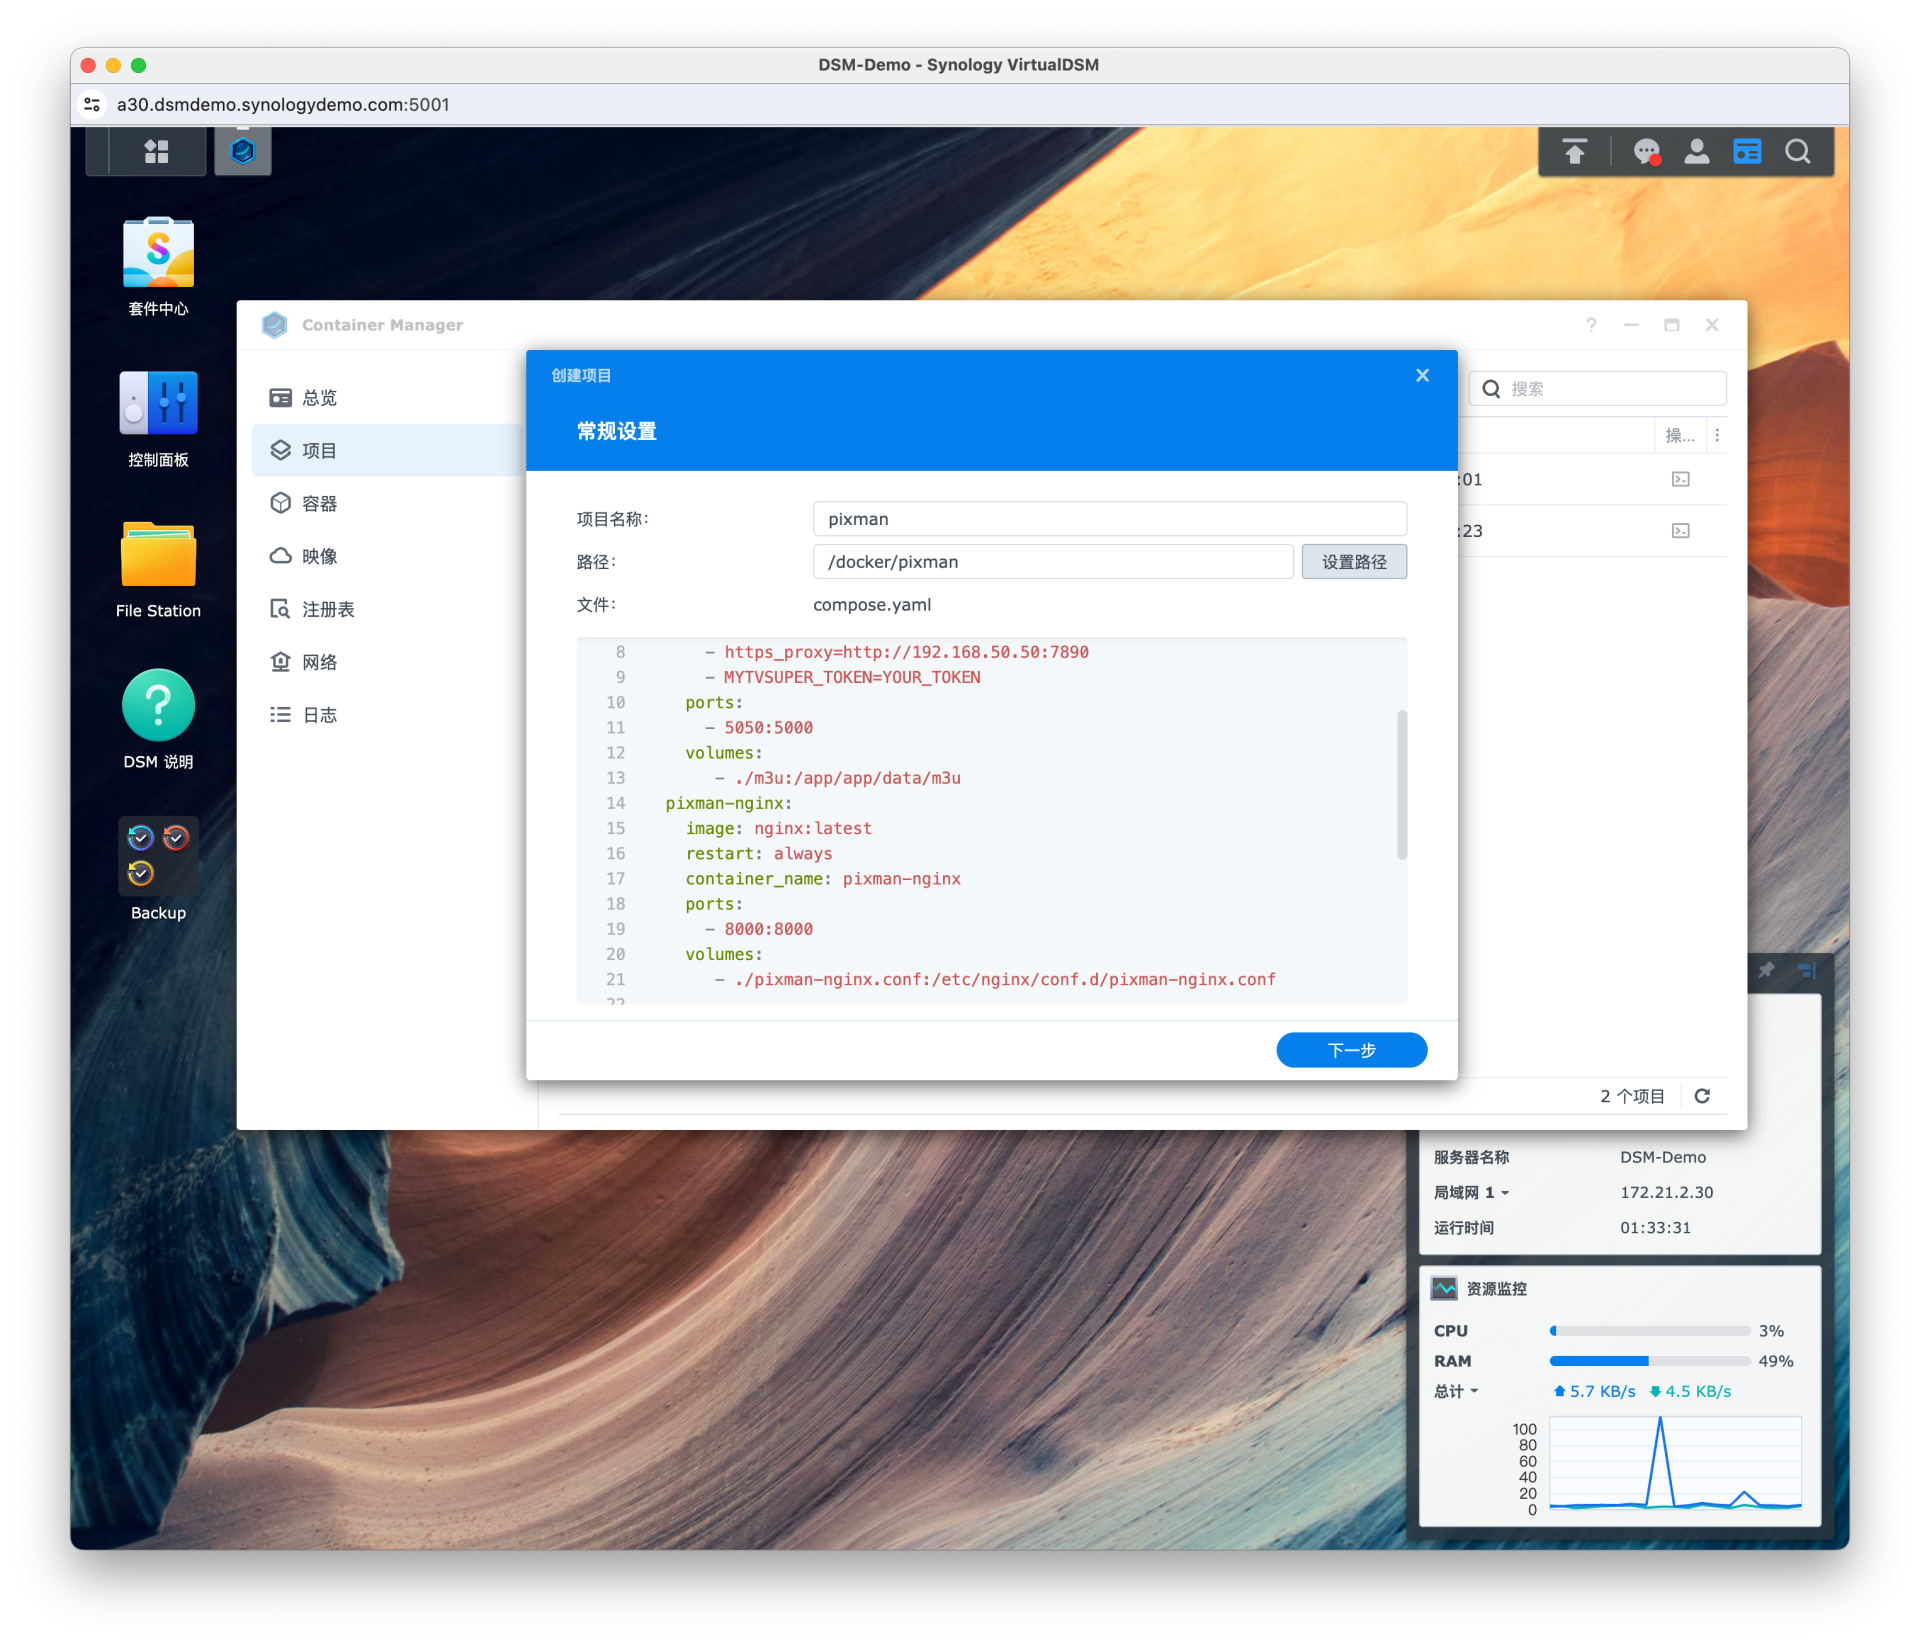
然后点击下一步,网站门户设置可以不管,点击完成,等待项目构建
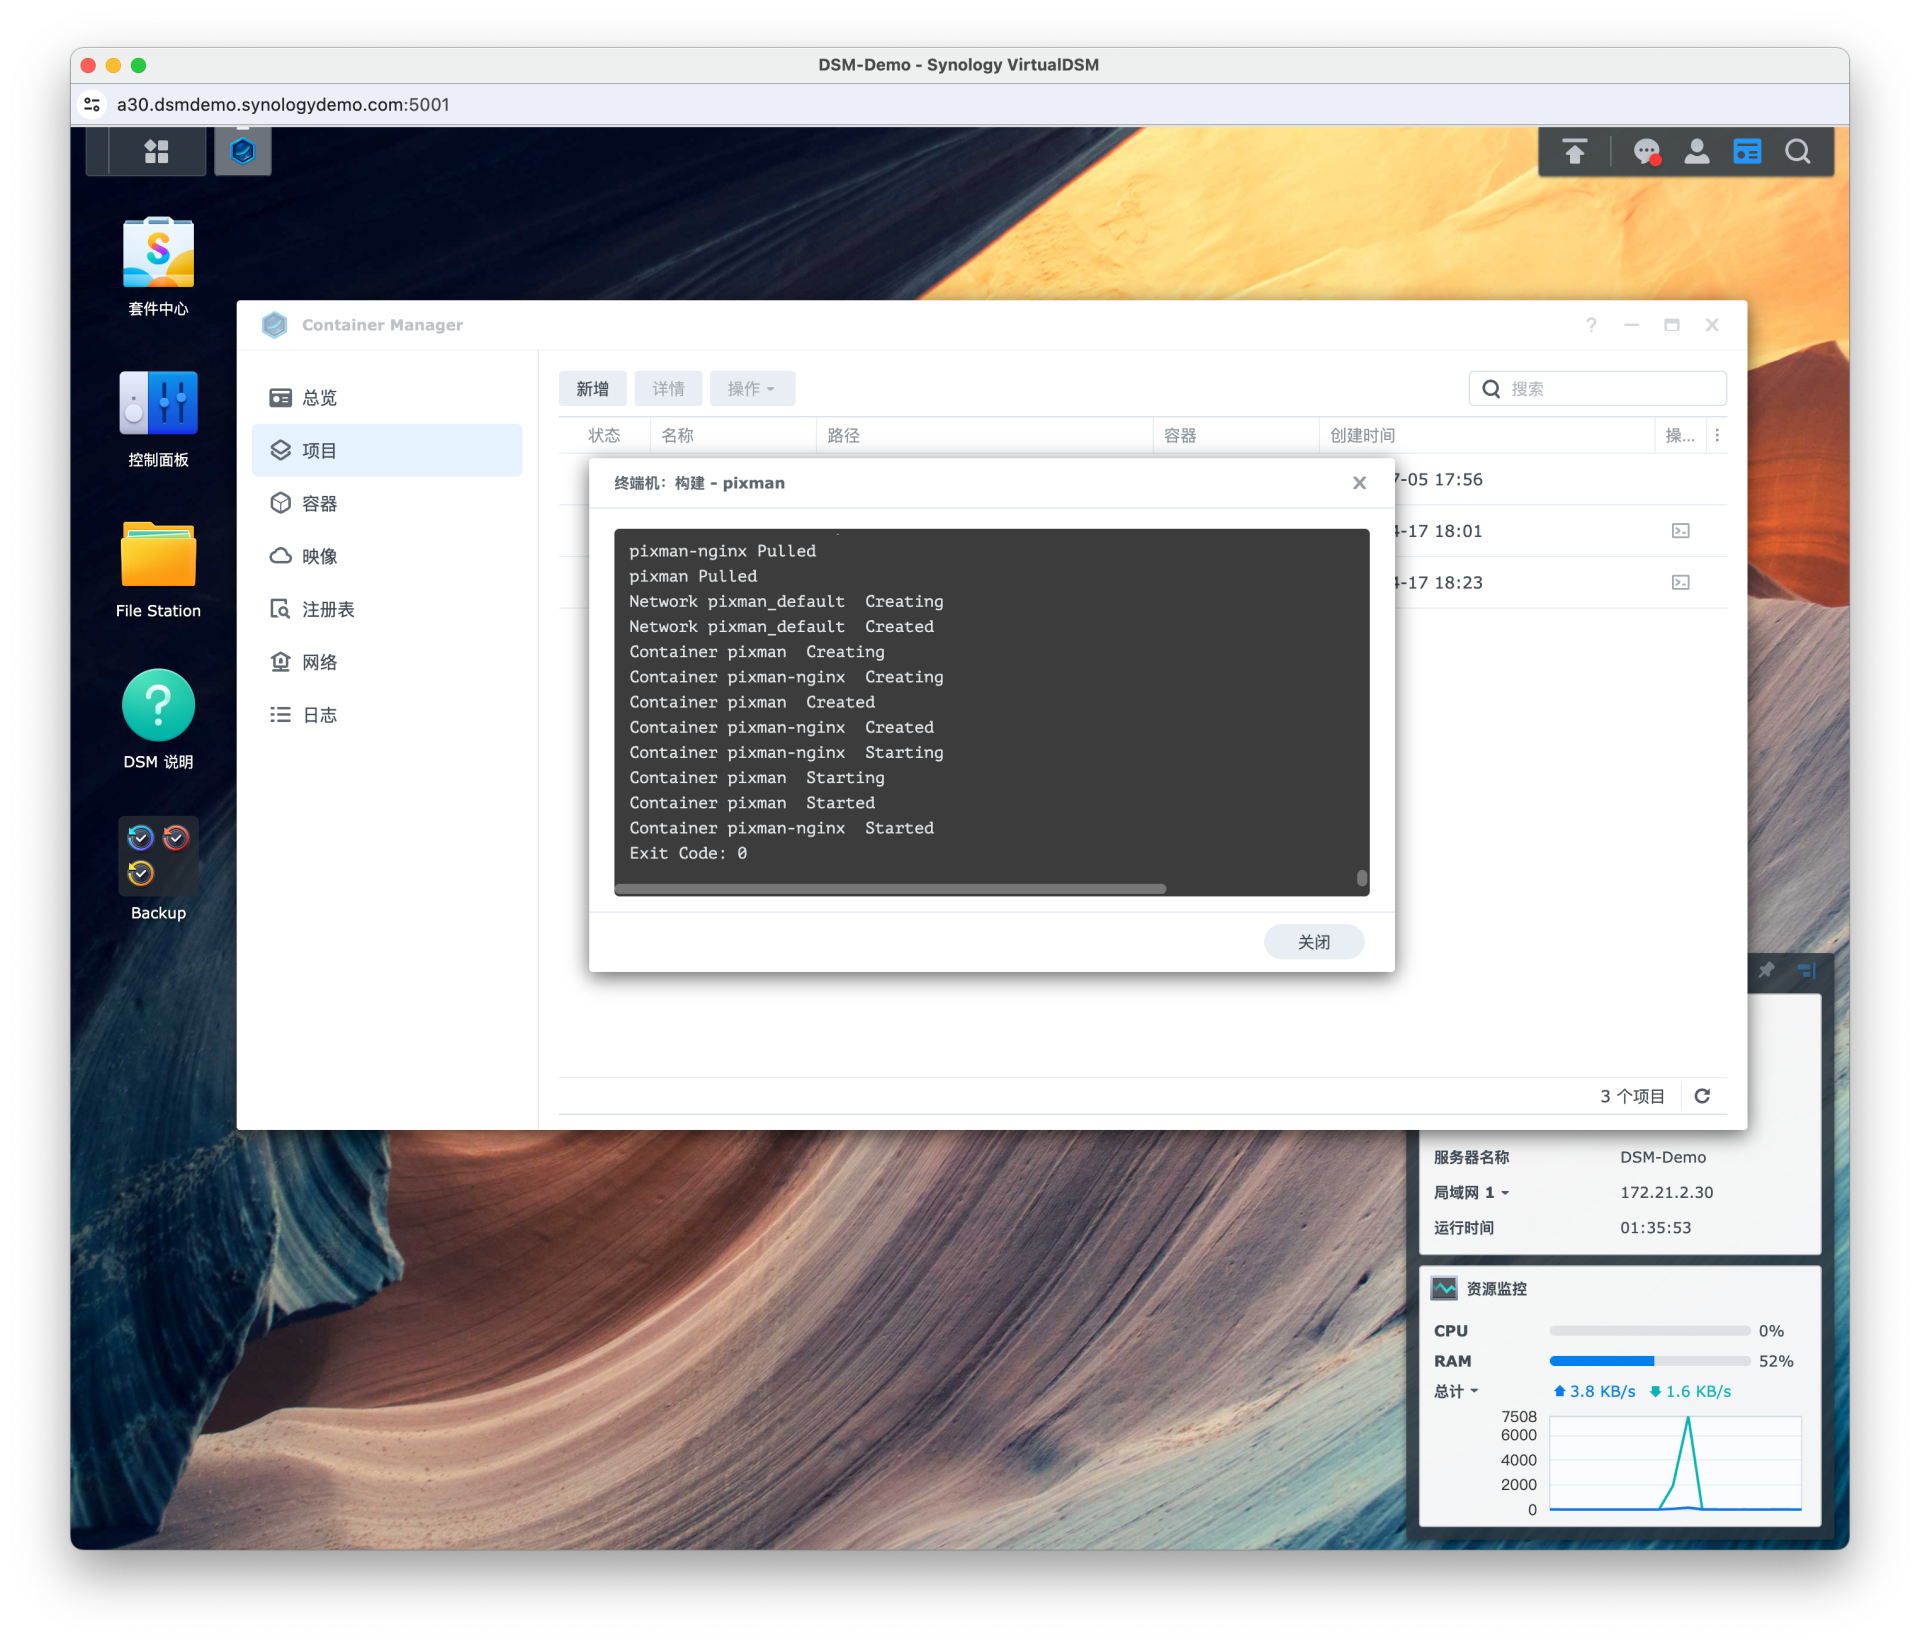
在构建的时候可能遇到 pull 失败的情况,参考文章 为群晖 Container Manager 配置代理 。
构建完成后查看项目详细数据,使用 http://群晖ip:5050/tptv_proxy.m3u?server=群晖ip:8000 即可订阅 TPTV 直播源,其他同理。
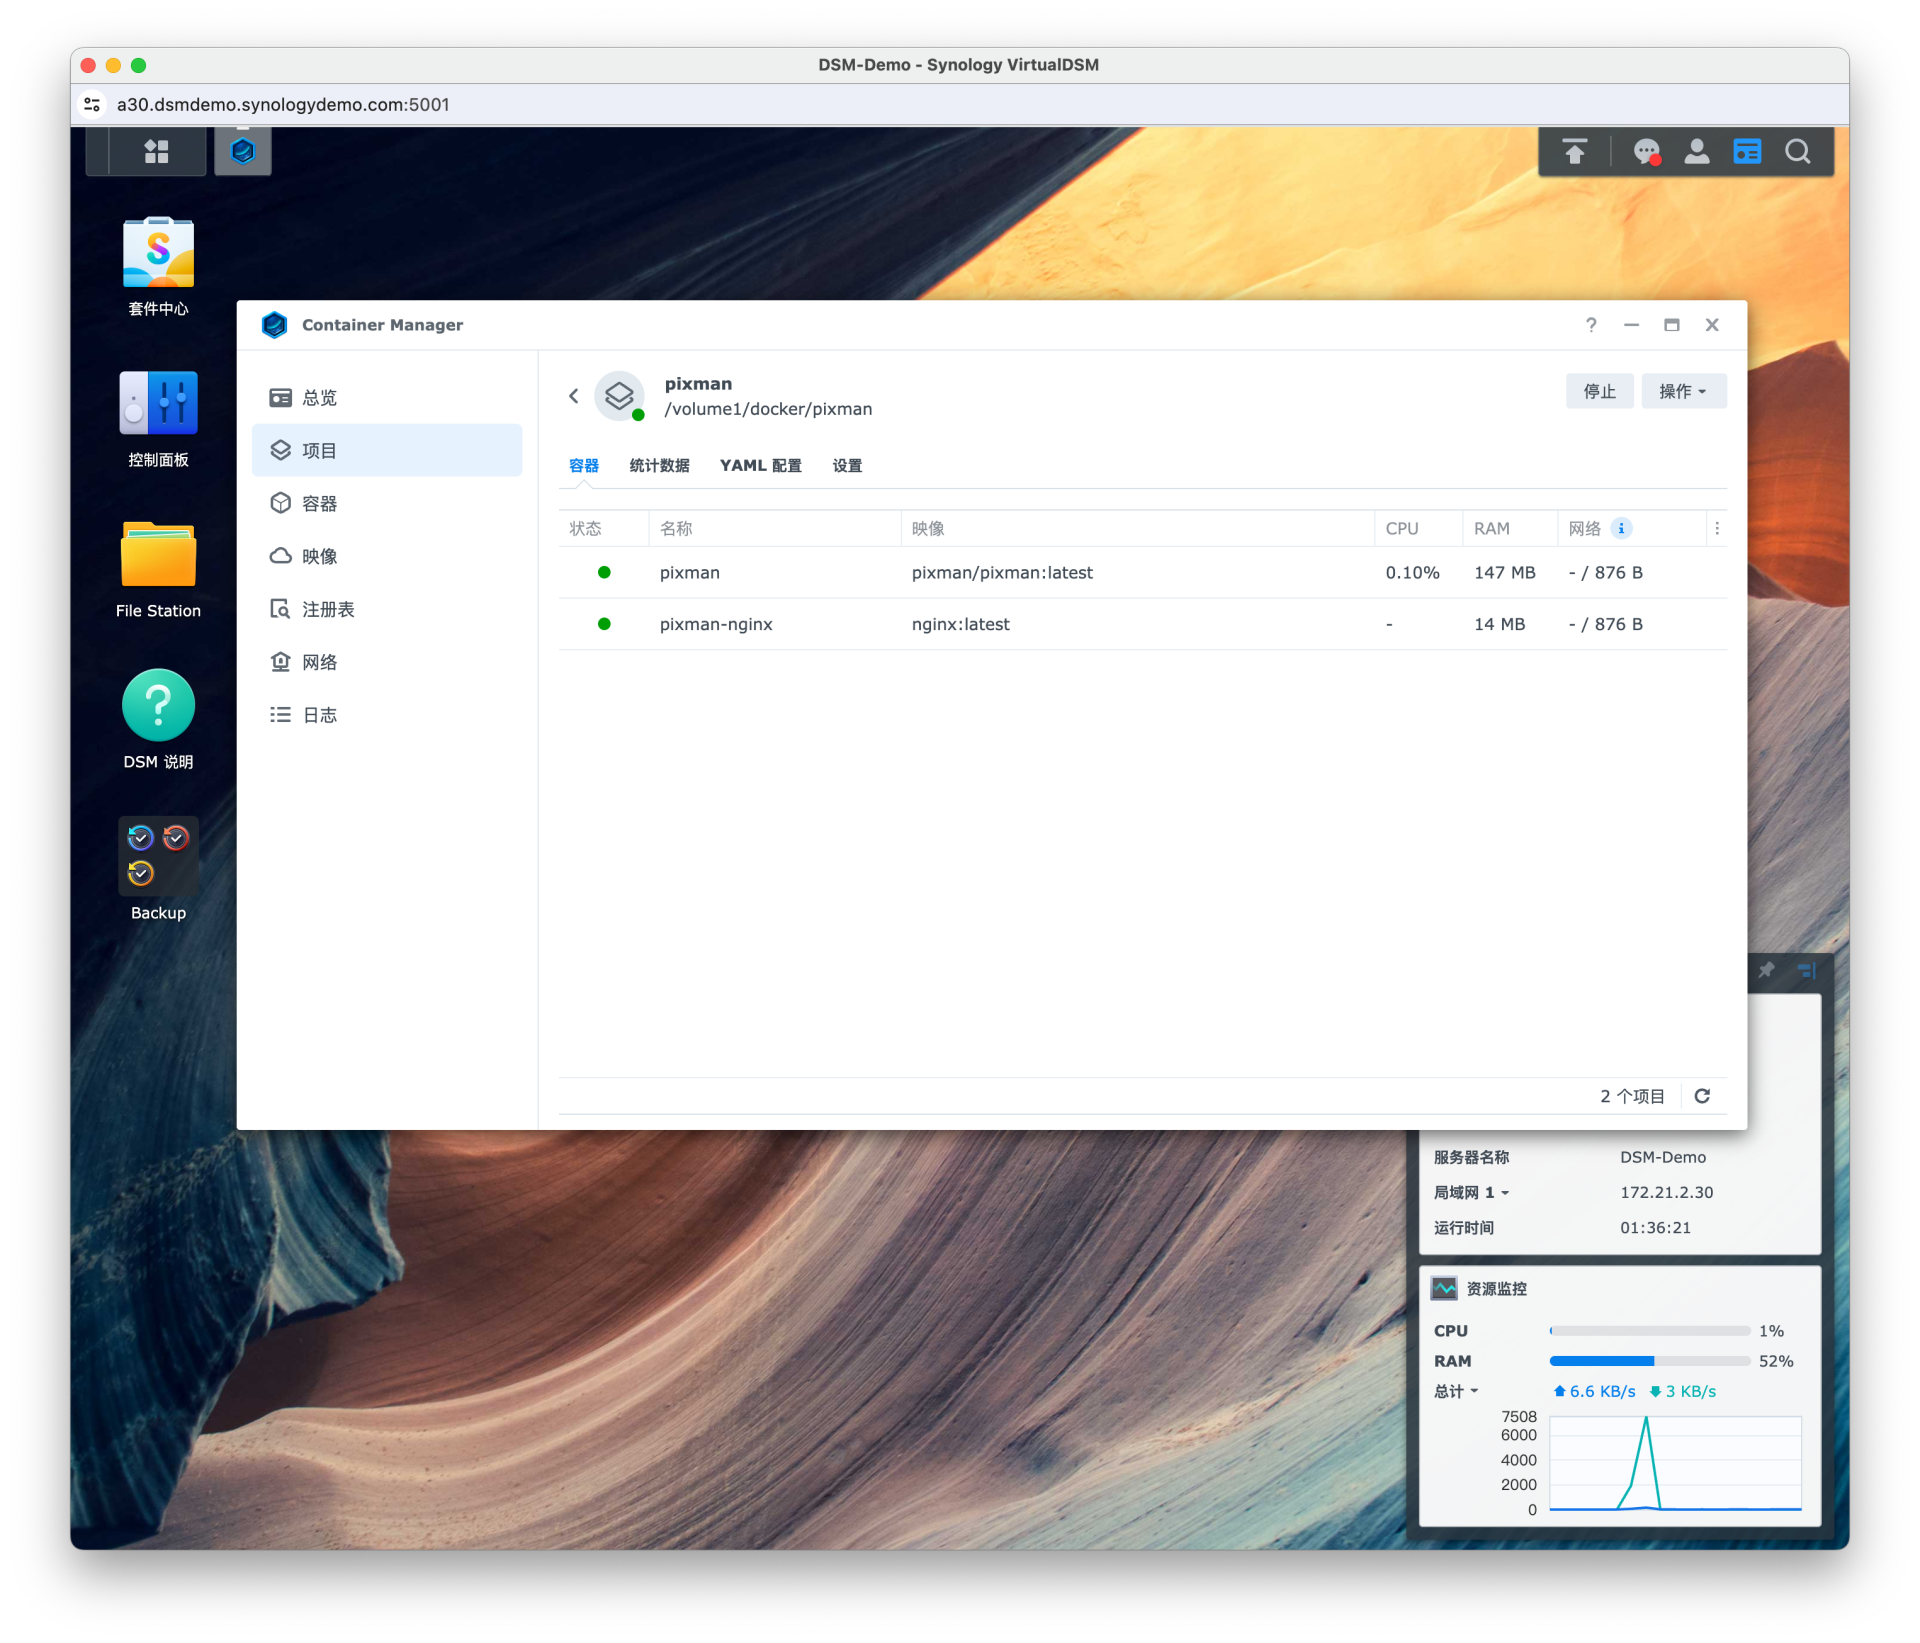
当镜像有新版本的时候,首先停止项目
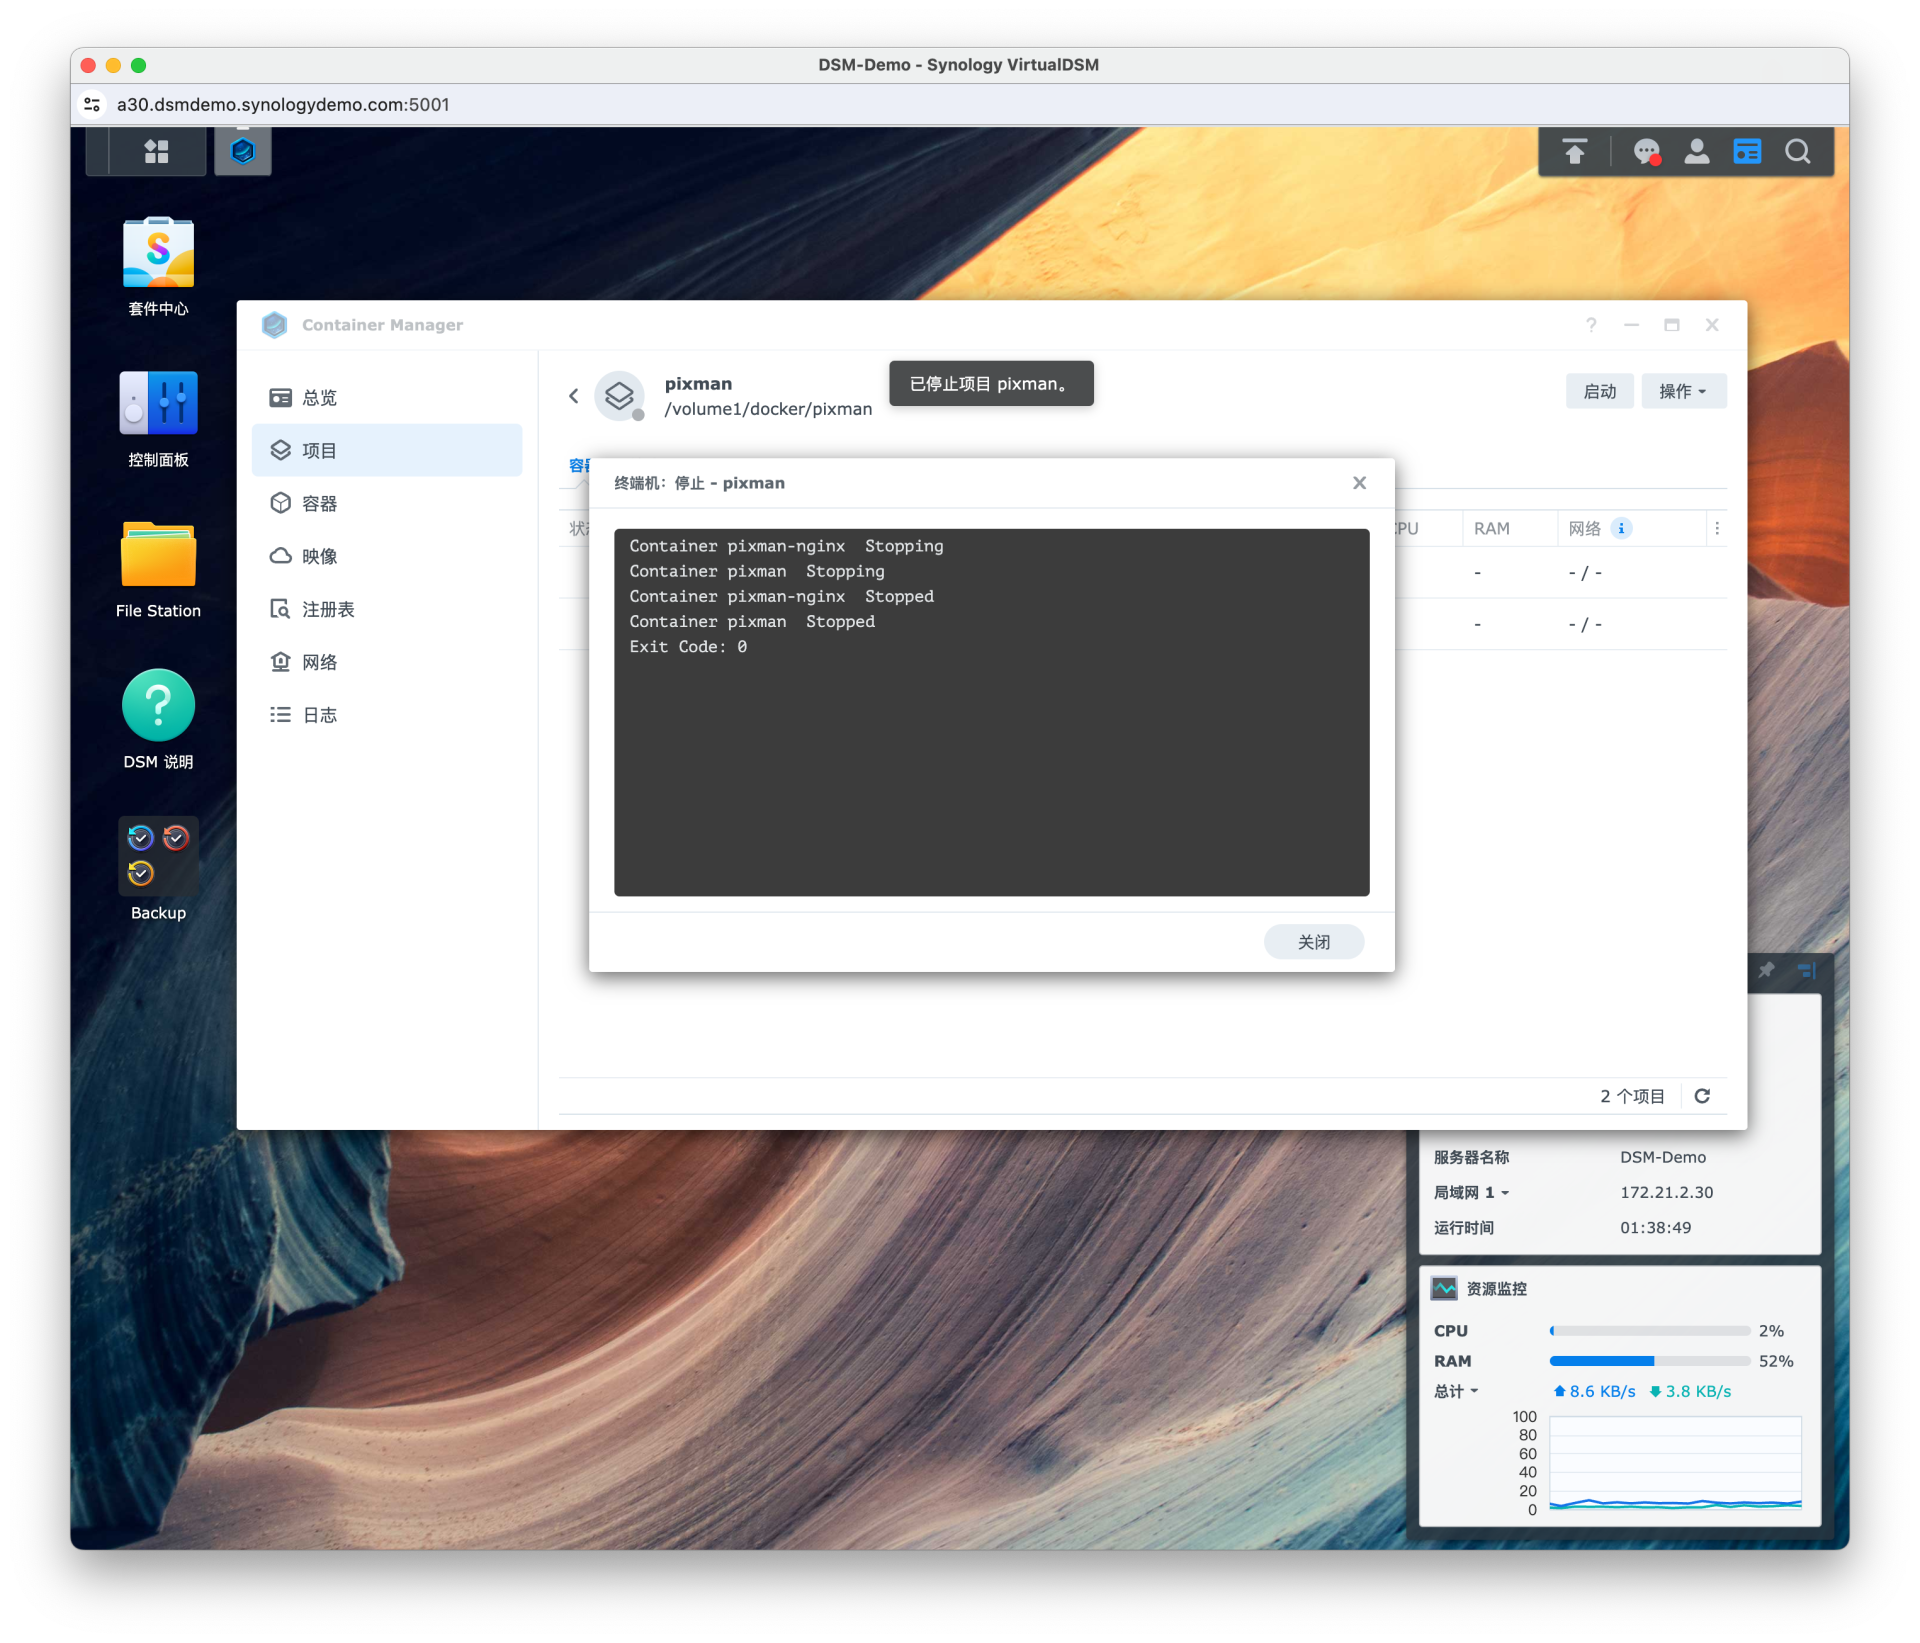
然后在 操作 - 清除 来删除容器和创建的网络
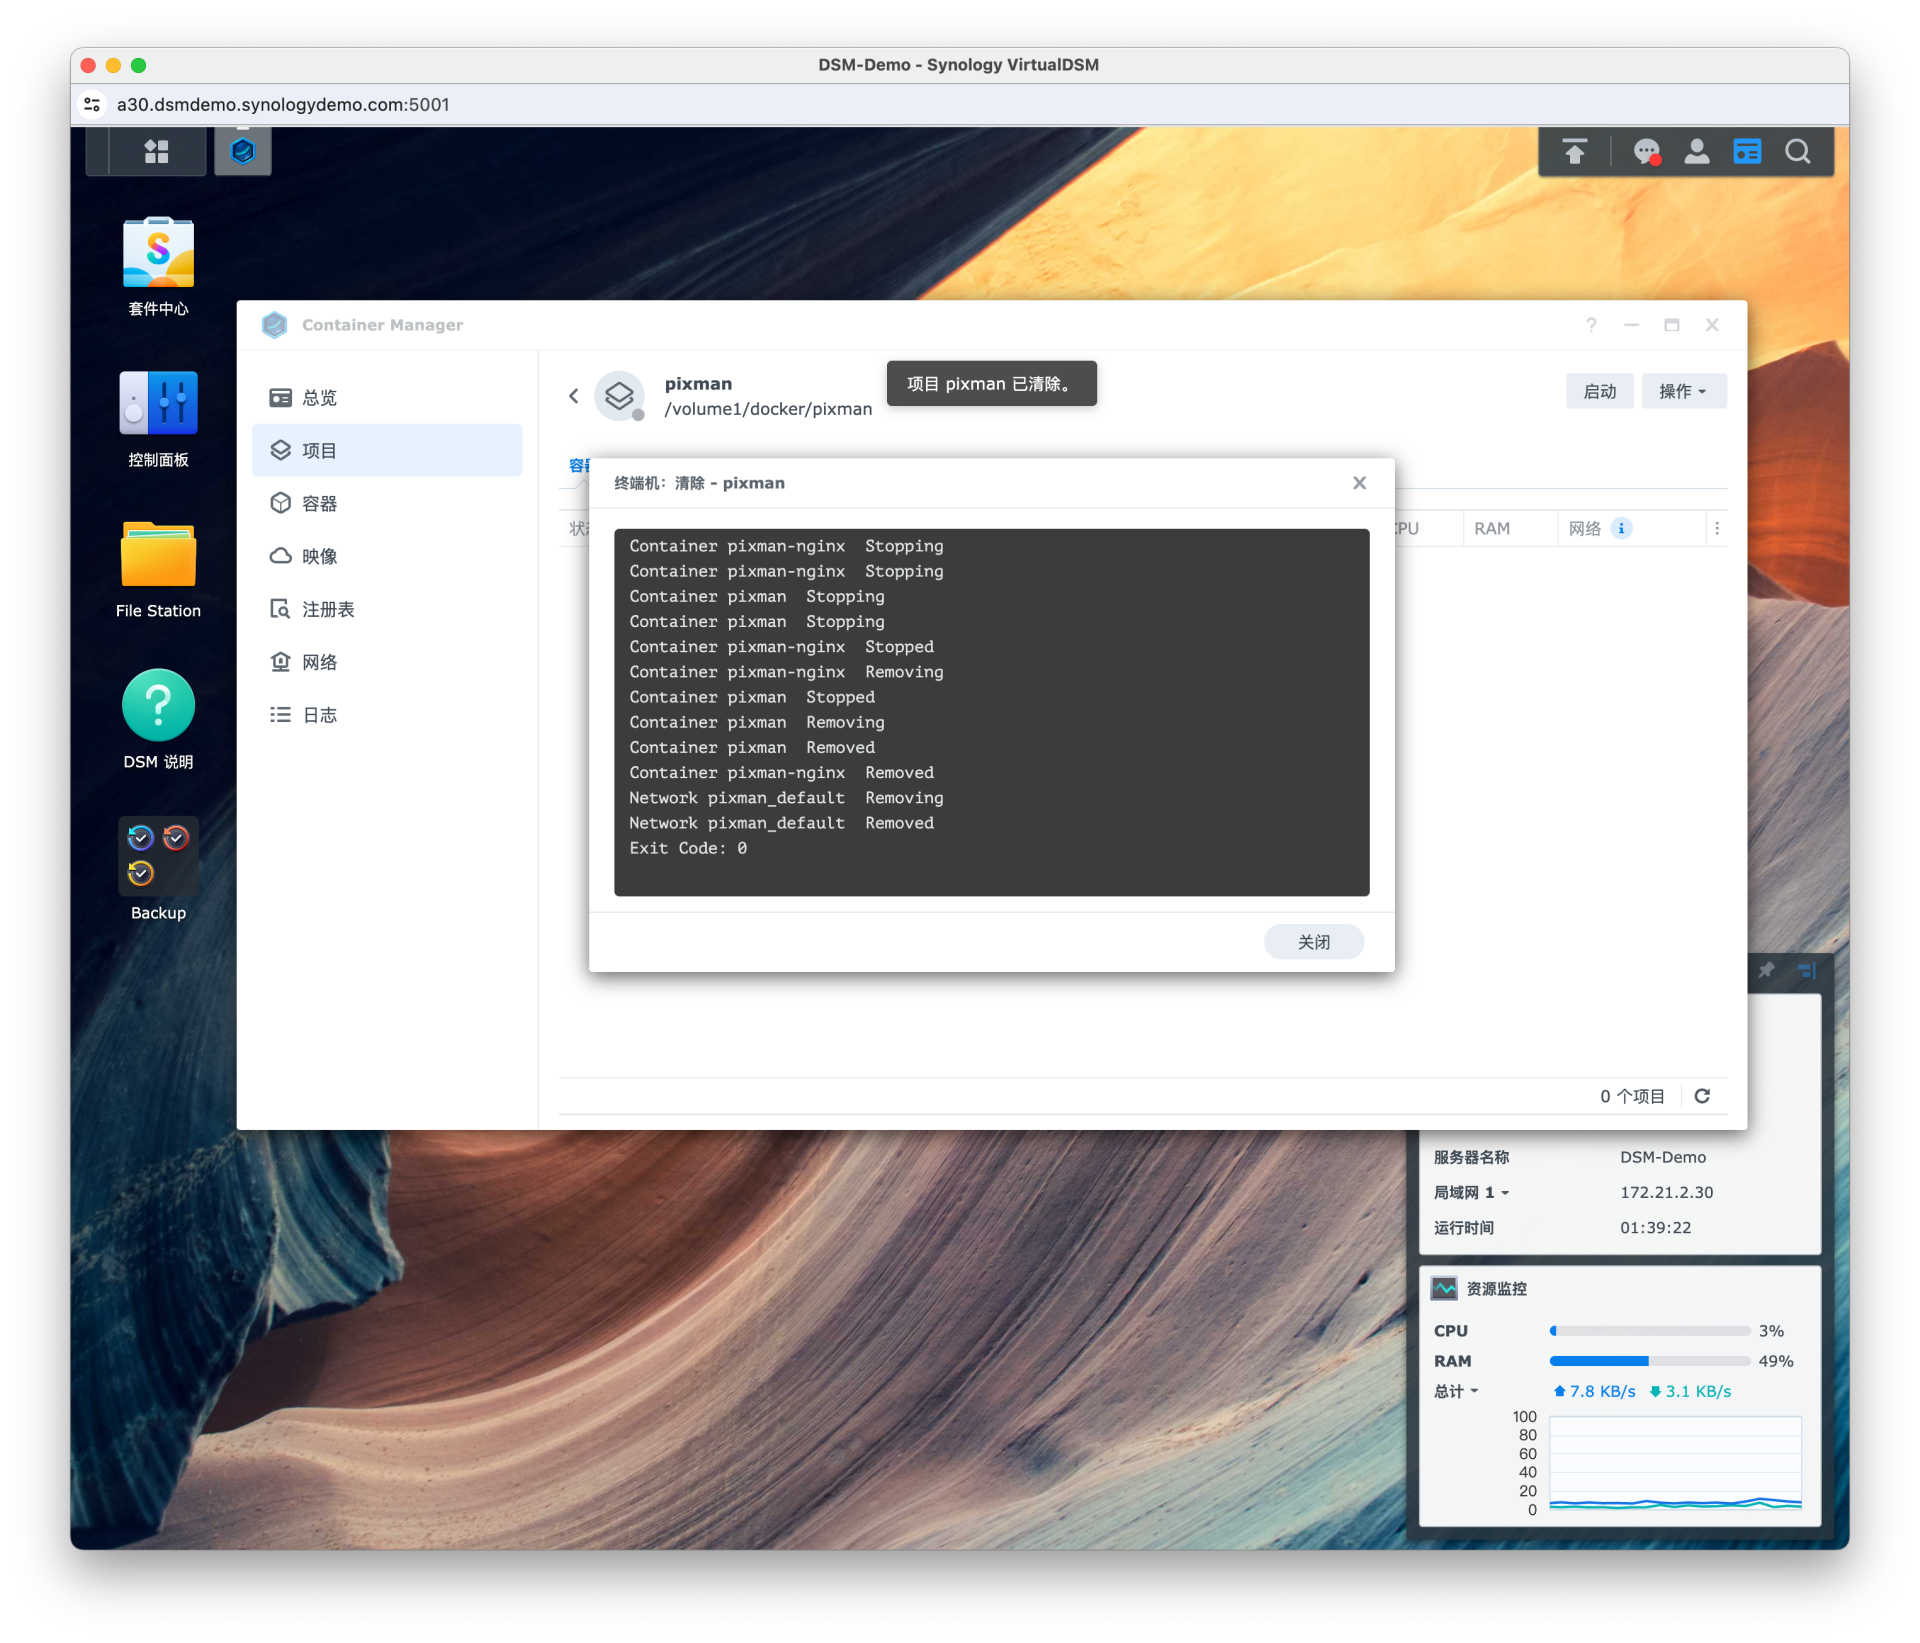
前往 映像 删除 pixman/pixman
在 项目 pixman 操作选择构建
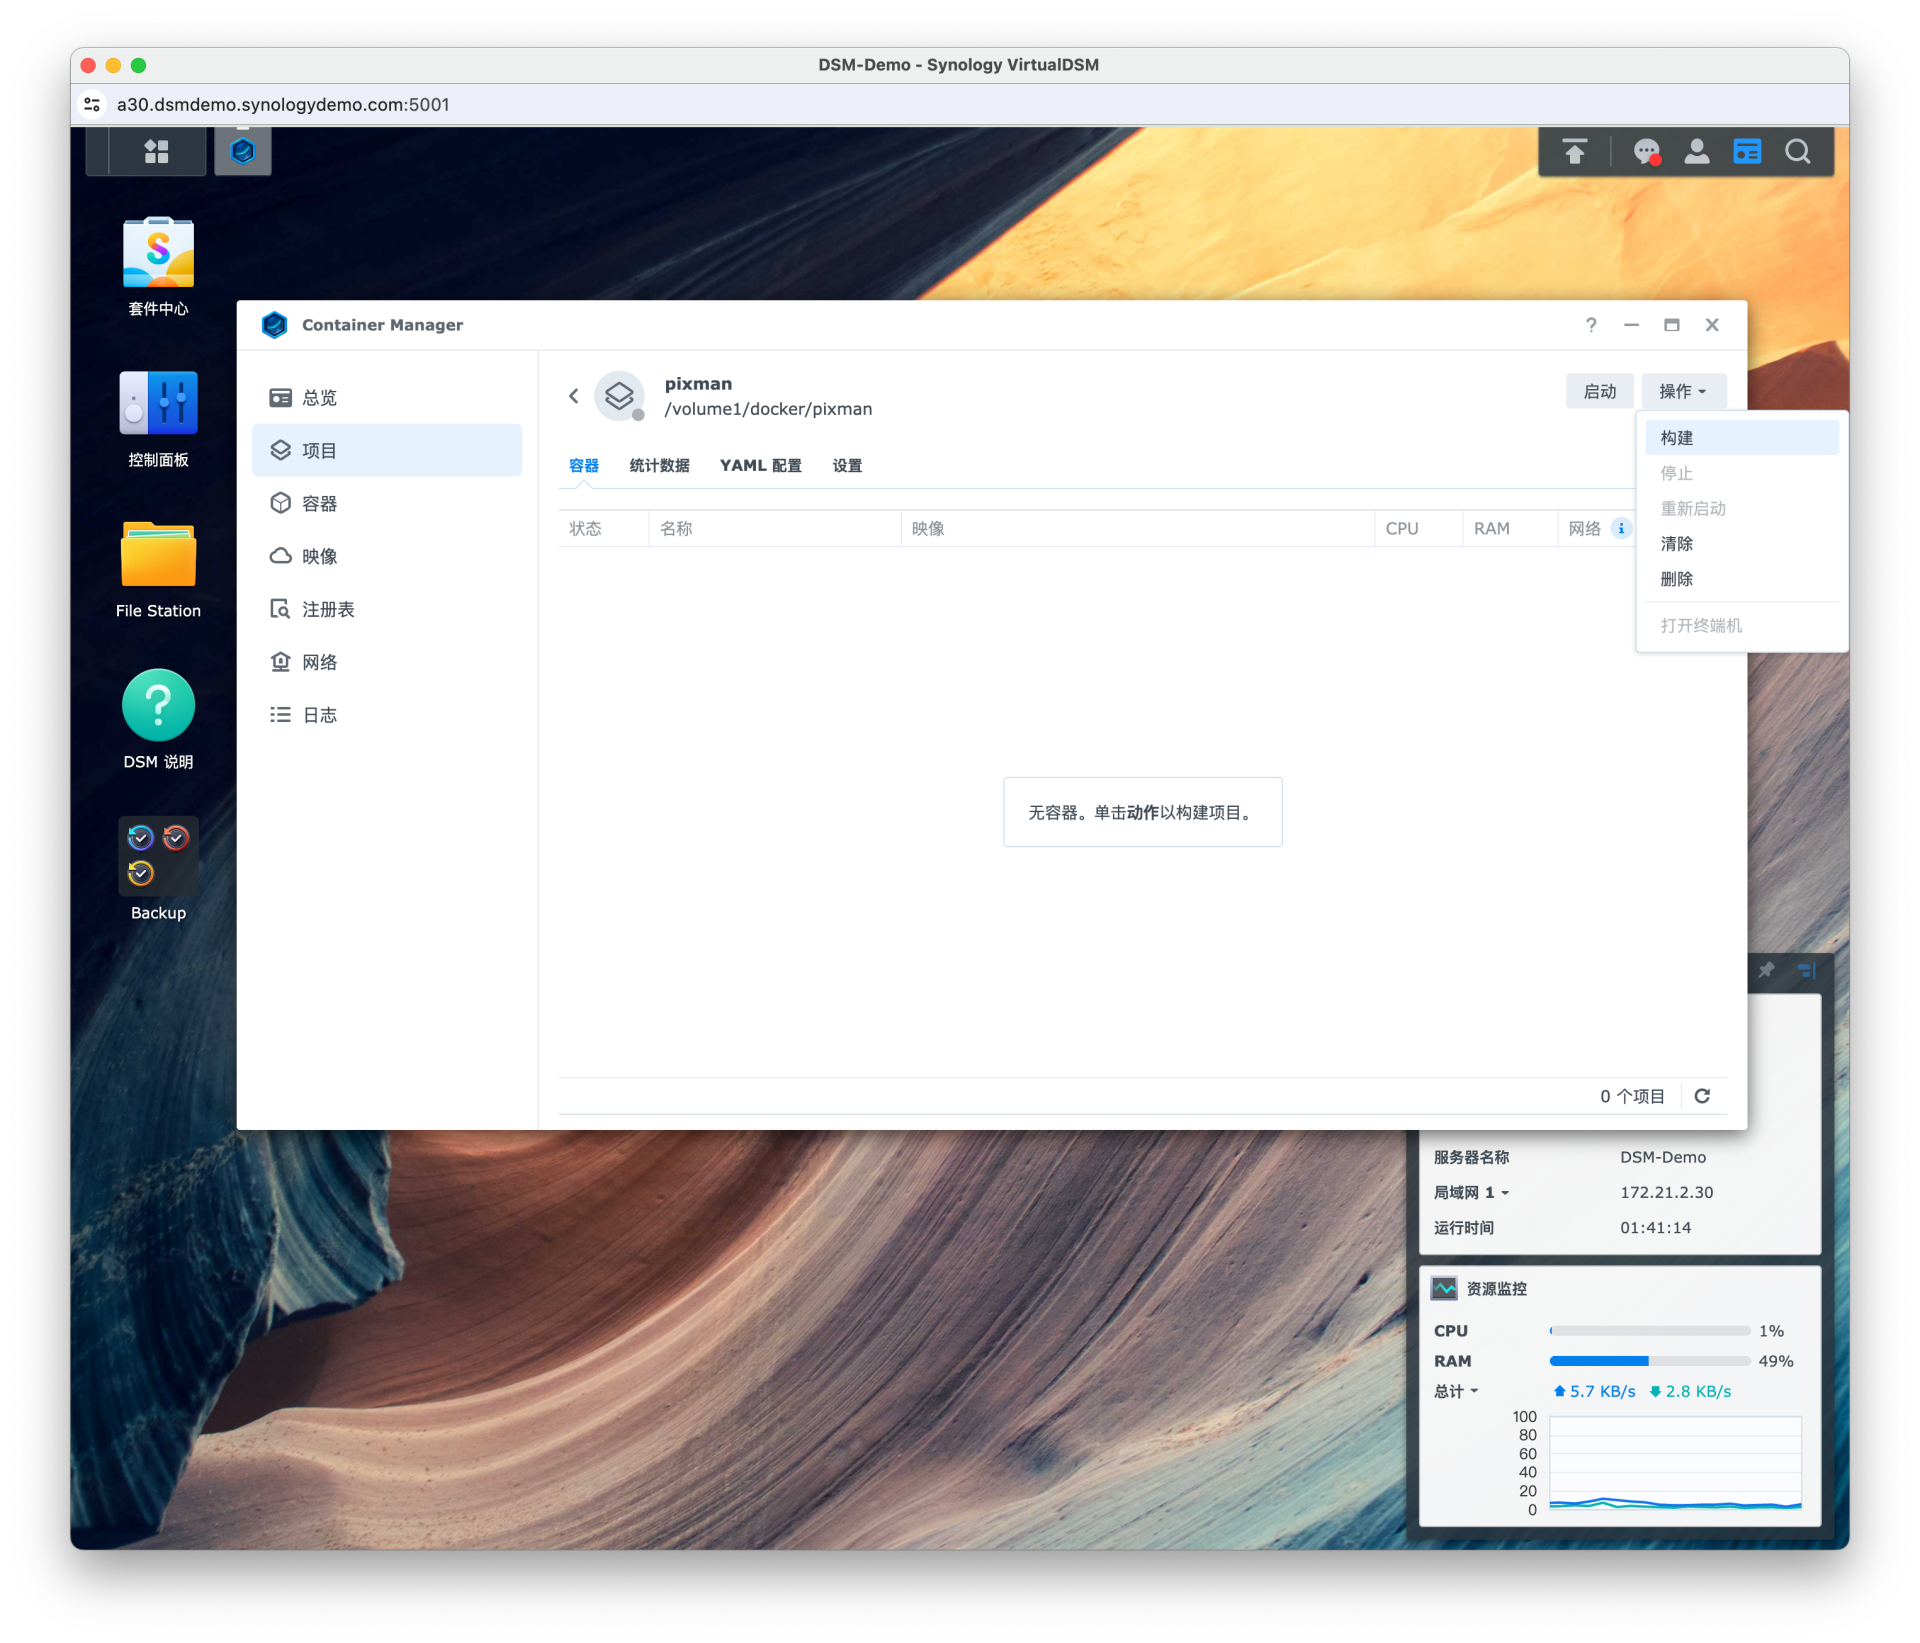
更新完成
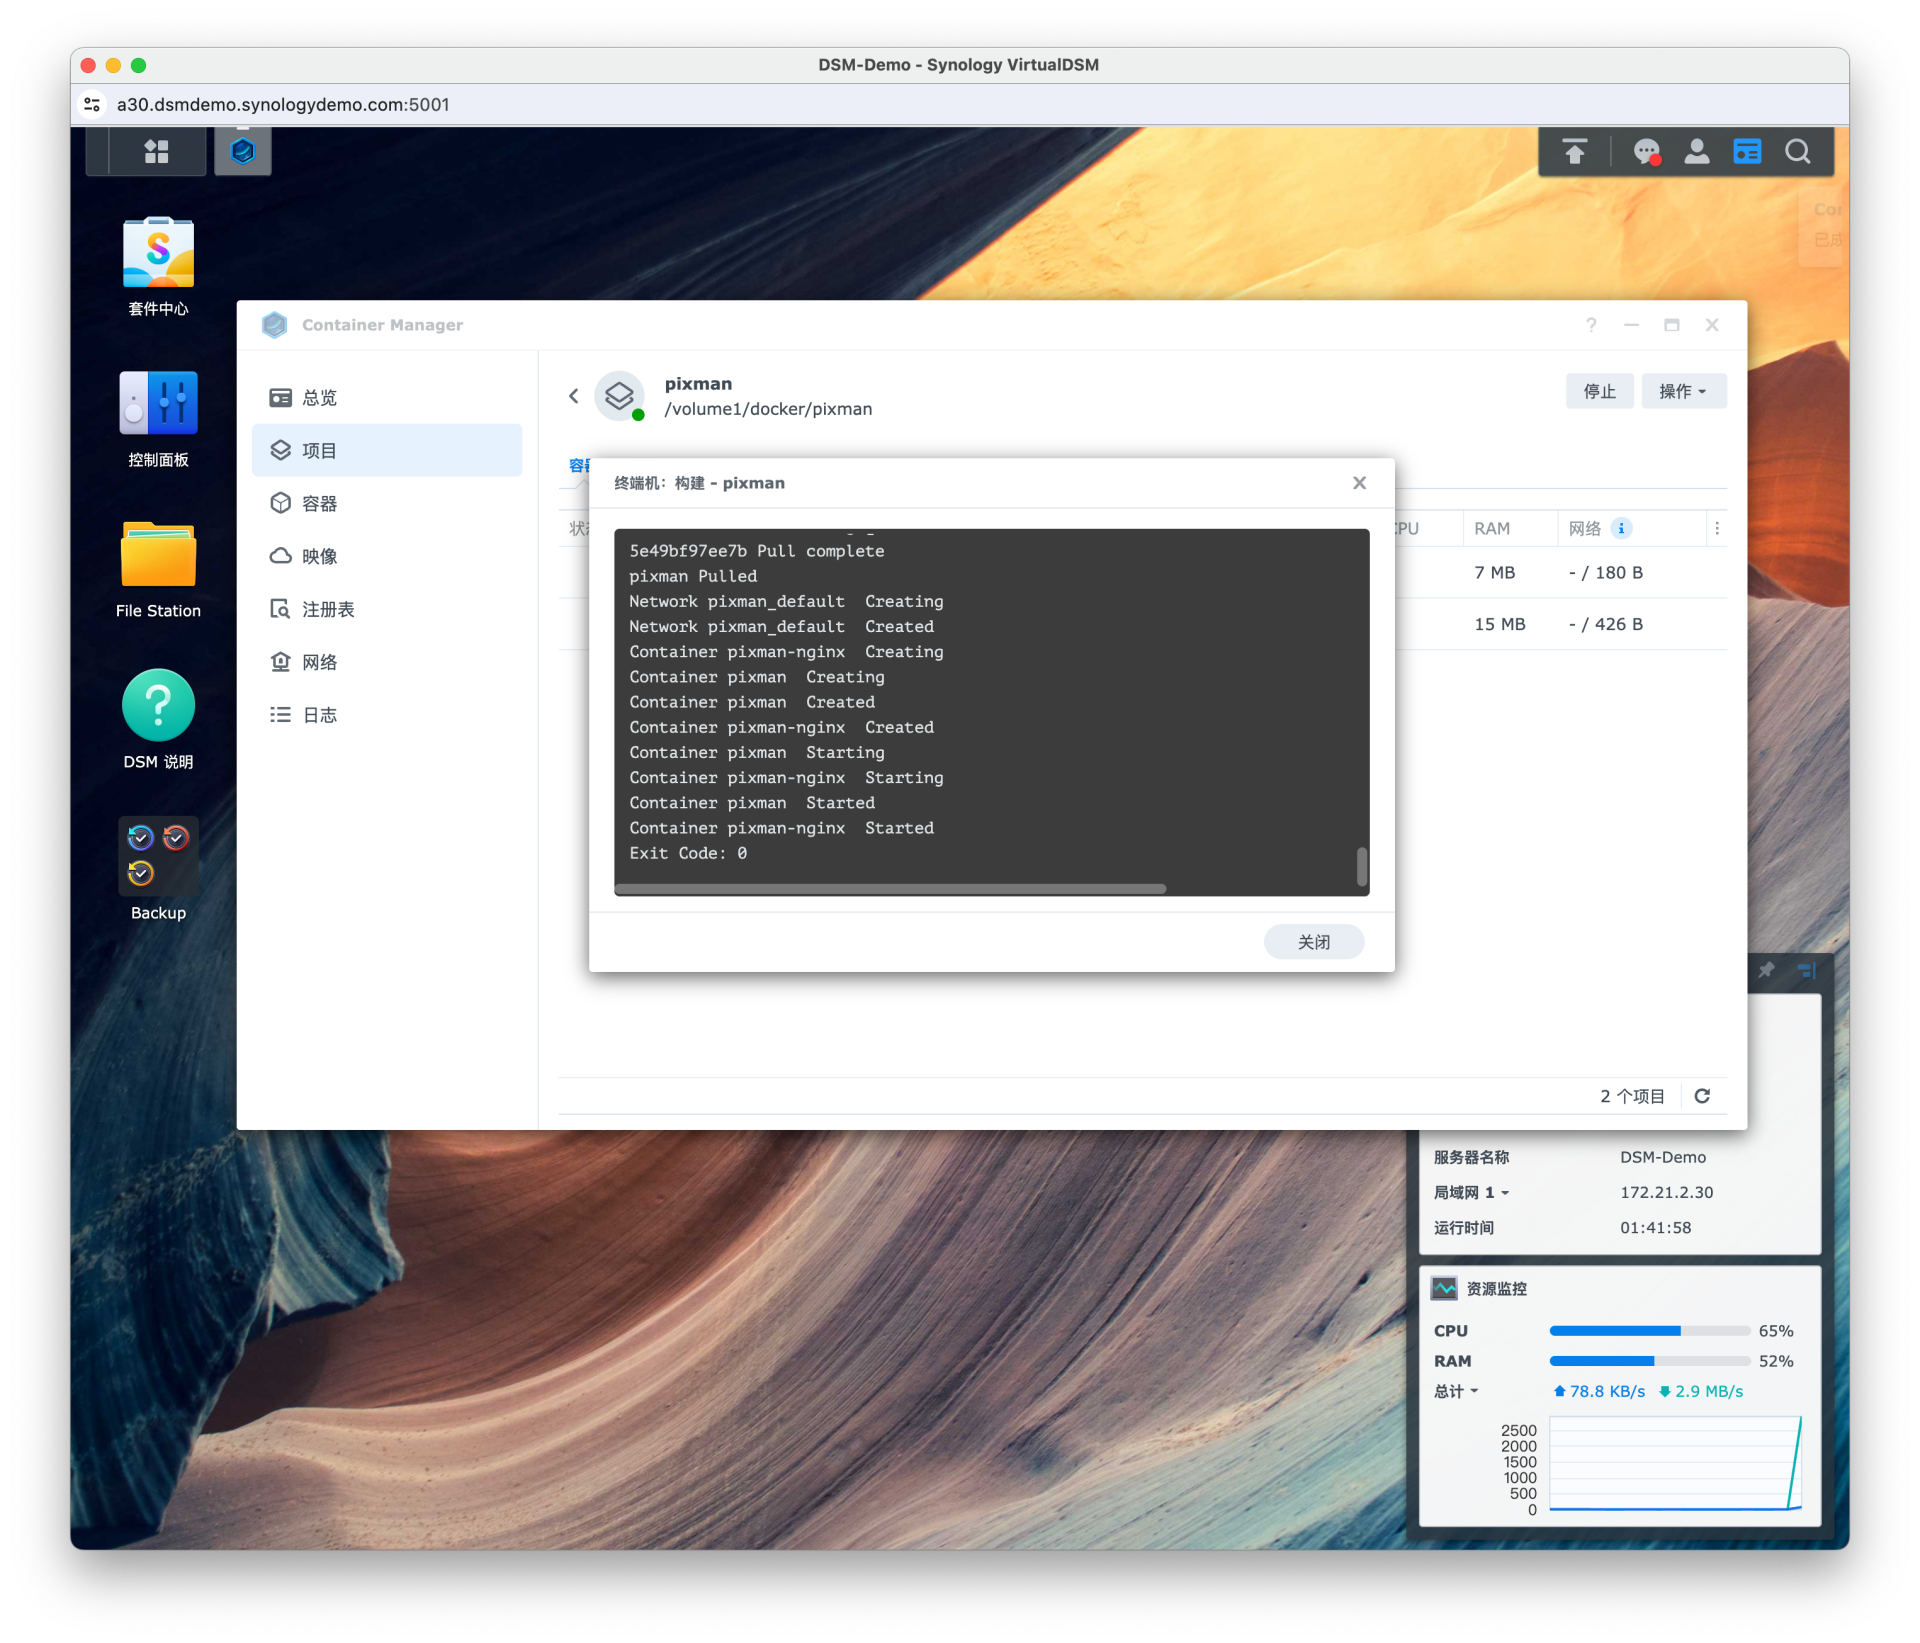
以上操作都在网页端完成,如果你熟悉 Linux 操作,也可以直接 SSH 到群晖的终端来部署。
我的 nas 也是没有开代理,在二级路由 ax6000 上装的 shellclash,已经在 nas 上拉取镜像了,如何设置代理正常看直播呢?nas 在跑 PT 所以不打算开代理
那就跟我一样,shellclass 应该是没有设置代理密码的,所以你直接新增 HTTP_PROXY 和 HTTPS_PROXY 这两个变量,值就写你 shellclash 的 ip 和端口,例如 http://192.168.50.50:7890
打开 {OPENWRT IP}/cgi-bin/luci/admin/services/openclash/config-overwrite 拉到最底下 设置 SOCKS5/HTTP(S) 认证信息
大佬,纯小白想问下,已经在群晖上运行好了 pximan 也拉到了 m3u. 但是在 tivimate 里可以导入到频道列表但是无法正常播放,群晖里的 pixman 日志显示以下错误,不知道是哪里设置错了。 我的代理是在主路由里的,用的是 SSR plus.
2024-07-13 08:18:42,322] ERROR in app: Request failed: HTTPConnectionPool(host='10.0.0.1', port=1080): Max retries exceeded with url: http://gslbserv.itv.cmvideo.cn:80/1000000005000265027/1.m3u8?channel-id=ystenlive&Contentid=1000000005000265027&livemode=1&stbId=3 (Caused by ProxyError('Cannot connect to proxy.', ConnectionResetError(104, 'Connection reset by peer'))), retrying...
请教 proxy 应该怎么填写才正确呢?下面的 proxy 地址是填写我挂的代理的主机地址吗?
如果我的代理是在主路由里的话,是不是就填写主路由地址即可?端口的又怎么填写呢,谢谢。
environment:
- http_proxy=http://192.168.50.50:7890
- https_proxy=http://192.168.50.50:7890
换了 open clash 后又变成这个错误日志了,老大求教 date stream content 2024/07/14 16:50:24 stderr [2024-07-14 08:50:24,469] ERROR in app: Request failed after retrying 2024/07/14 16:50:24 stderr [2024-07-14 08:50:24,468] ERROR in app: Request failed: 407 Client Error: Proxy Authentication Required for url: http://gslbserv.itv.cmvideo.cn:80/1000000001000023315/1.m3u8?channel-id=ystenlive&Contentid=1000000001000023315&livemode=1&stbId=3, retrying...
Proxy Authentication,你的 openclash 开启了认证,oc 的设置 - 覆写设置 - 基本设置最下面,设置 SOCKS5/HTTP(S) 认证信息
- http_proxy=http://192.168.50.50:7890 - https_proxy=http://192.168.50.50:7890 请教楼主,这个 ip 和端口是用什么,我的主路由 openwrt,ip 是 192.168.3.1,用的代理是 ssrplus+
为什么有时候不加 server 参数也可以播放,有时候就不行呢? mytvsuper-tivimate.m3u 可以在 tivimate app 上播放,但是用 kodi 就不行是为啥? pixman 有源码可以学习么?
博主你好,我是使用 docker 的 UI 界面安装的。安装好了之后,aptv 订阅地址之后有列表出现,但是点击具体某个电视频道时无法播放。在 pixman 的 docker 日志中报错:[2024-09-26 07:03:23,339] ERROR in app: Failed to get account info, retrying... 请问是什么原因?
我创建好了,把 m3u 这个 http://群晖 ip:5050/tptv_proxy.m3u?server=群晖 ip:8000 放到 tivimate 里面 能读取频道,但是播放不了
看了下 pixman 的日志 提示 ERROR in app: Failed to get account info, retrying...
今天测试了下 xxx:port/tptv.m3u,导入到 aptv 里面 能读取频道,但是播放不了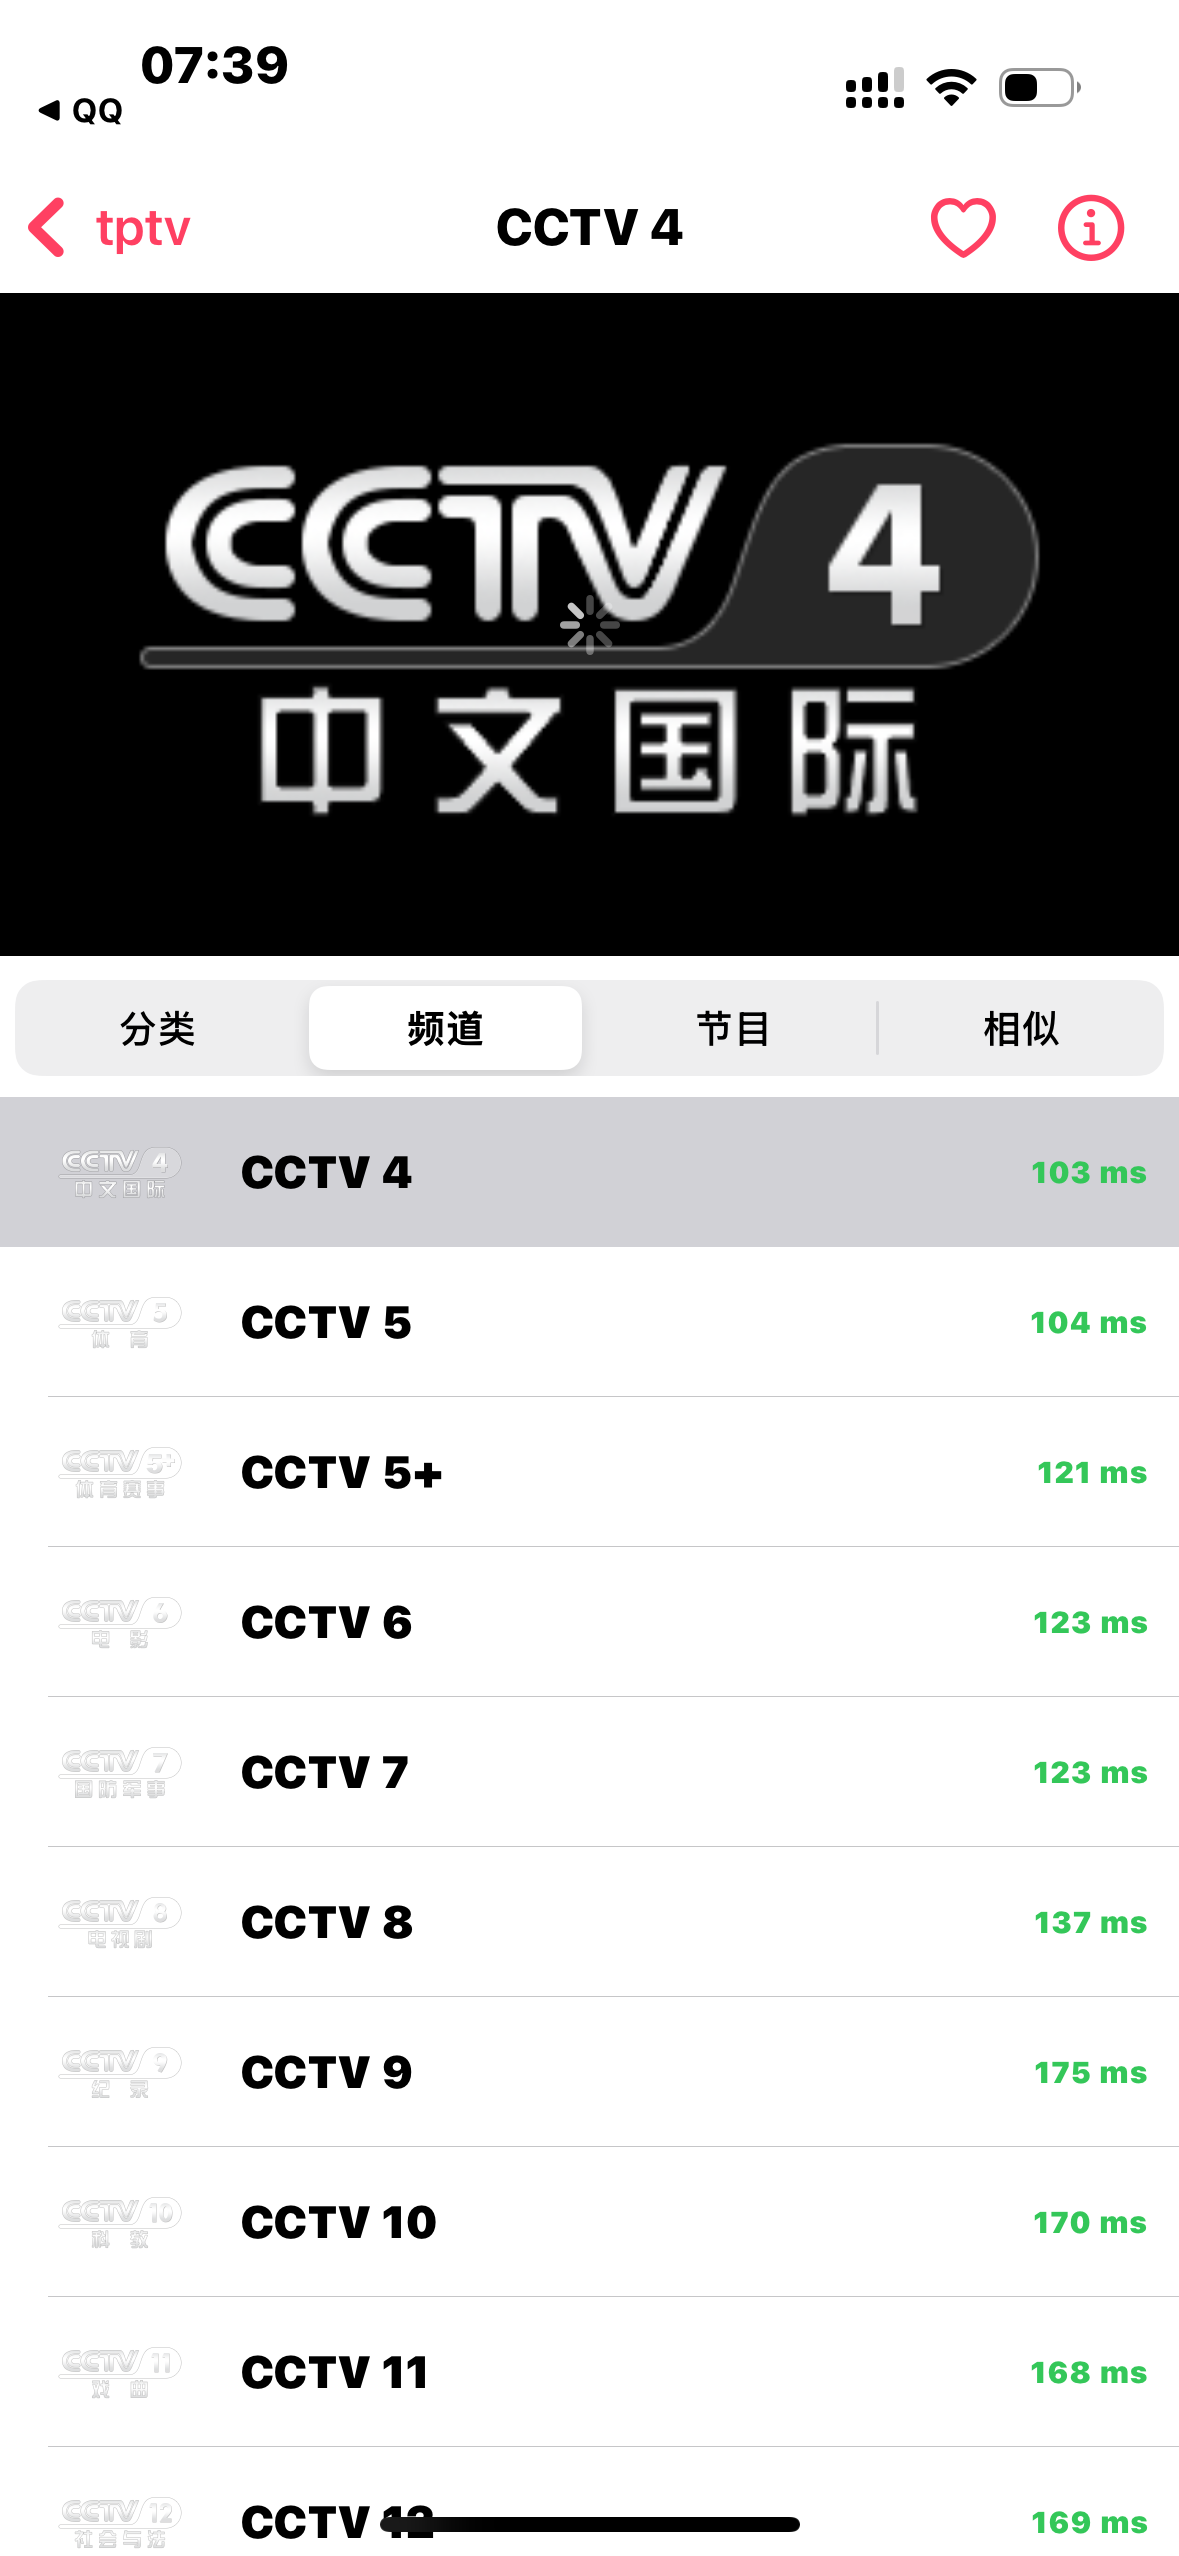 [2024-10-07 13:44:03,053] ERROR in app: Failed to get account info, retrying...
[2024-10-07 23:39:11,302] ERROR in app: Failed to get account info, retrying...
[2024-10-07 23:39:11,576] ERROR in app: Failed to get account info, retrying...
[2024-10-07 23:39:11,695] ERROR in app: Failed to get account info, retrying...
[2024-10-07 23:39:14,394] ERROR in app: Failed to get account info, retrying...
[2024-10-07 23:39:14,660] ERROR in app: Failed to get account info, retrying...
[2024-10-07 23:39:14,783] ERROR in app: Failed to get account info, retrying...
[2024-10-07 23:39:17,476] ERROR in app: Failed to get account info, retrying...
[2024-10-07 23:39:17,745] ERROR in app: Failed to get account info, retrying...
[2024-10-07 23:39:17,869] ERROR in app: Failed to get account info, retrying...
[2024-10-07 23:39:21,133] ERROR in app: Failed to get account info, retrying...
[2024-10-07 23:39:24,215] ERROR in app: Failed to get account info, retrying...
[2024-10-07 23:39:27,300] ERROR in app: Failed to get account info, retrying...
[2024-10-07 23:39:32,581] ERROR in app: Failed to get account info, retrying...
[2024-10-07 23:39:32,582] ERROR in app: Failed to get account info, retrying...
[2024-10-07 23:39:35,674] ERROR in app: Failed to get account info, retrying...
[2024-10-07 23:39:35,676] ERROR in app: Failed to get account info, retrying...
[2024-10-07 23:39:37,671] ERROR in app: Failed to get account info, retrying...
[2024-10-07 23:39:38,765] ERROR in app: Failed to get account info, retrying...
[2024-10-07 23:39:38,766] ERROR in app: Failed to get account info, retrying...
[2024-10-07 23:39:40,759] ERROR in app: Failed to get account info, retrying...
[2024-10-07 23:39:43,841] ERROR in app: Failed to get account info, retrying...
今天更新了最新版的 pixman 镜像,还是遇上如下错误 log(例如 4gtv 里面的 history 频道(第 126 频道)打不开 , 可是民视(第一频道)则没有问题)
2024-12-14 02:21:38,268] ERROR in app: Request failed: 530 Server Error:  for url: http://pixman.io.itv.dnsany.com/000000001000/6000000001000015875/1.m3u8?channel-id=wasusyt&Contentid=6000000001000015875&livemode=1&stbId=3&version=1.0&owaccmark=6000000001000015875&owchid=wasusyt&owsid=7306791734142897630&AuthInfo=YkXQEaGDc4dXaTNF8ojswi8QguT3kySfkGERftvAPjt8yuqPNpBy5R%2Bet0TuidiKkaC1CDRTDpGd96X6vdHIsg%3D%3D, retrying...
[2024-12-14 02:21:38,269] ERROR in app: Request failed after retrying
感谢指导